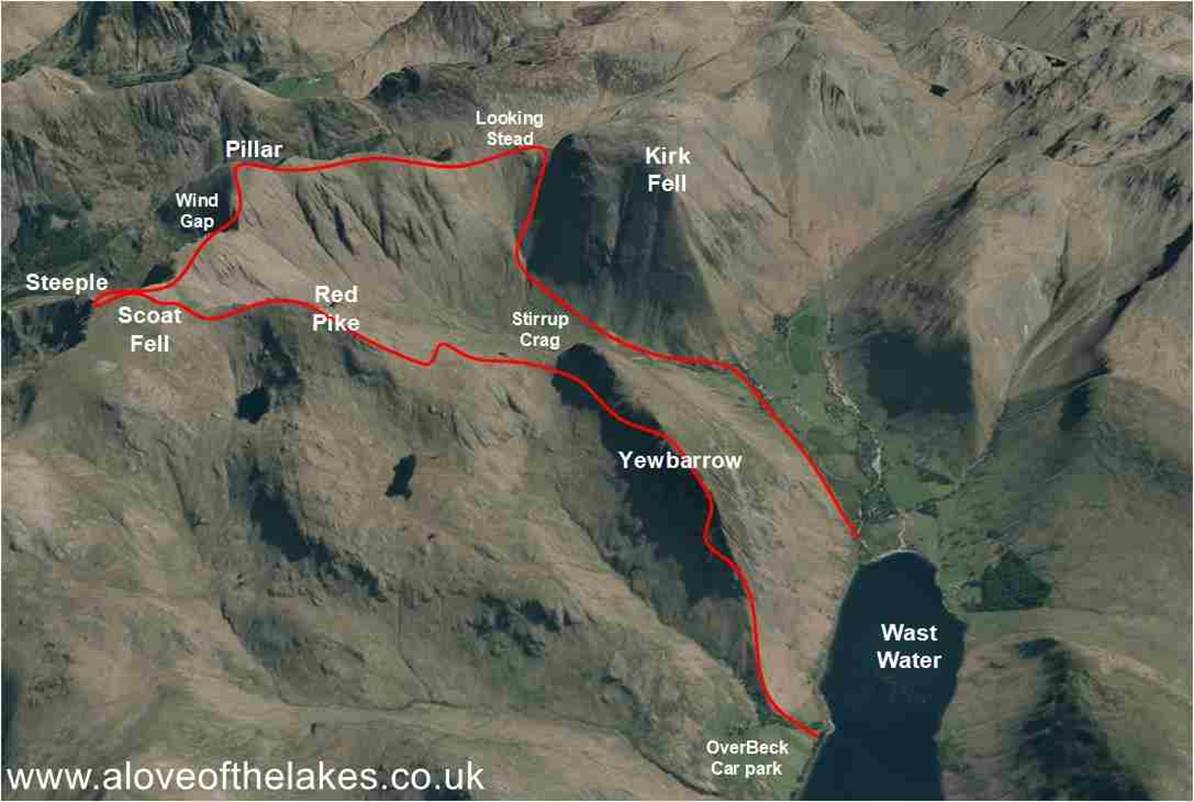
Walk : The
Mosedale Horseshoe from Overbeck Bridge taking in
Yewbarrow (2,058ft), Red Pike (2,707ft), Scoat
Fell (2,760ft),
Steeple (2,687ft), Pillar (2,927)
Date :
15th June 2023
Weather :
Very hot @ 30ºC cloudless skies
Distance :
11 miles
Difficulty :
5
(1=easy
5=hard)
Which area of Lakeland
is this walk situated?
Terrain Overview
Walk Overview
The
Mosedale Horseshoe is a very challenging but rewarding walk. There are a number
of steep climbs in the circuit and some
extremely
steep drops, particularly Stirrup Crag on Yewbarrow. Anyone walking this must
assess their capability if they choose
the
Stirrup Crag route down to Dore Head. For those who would prefer not to expose
themselves to this, a path that branches
off
to the left just before the crag can be taken. This blog describes that route.
The rest of the circuit is on a good track making
navigation
straightforward. Allow yourself plenty of time (and light) in which to complete
this classic Lakeland walk
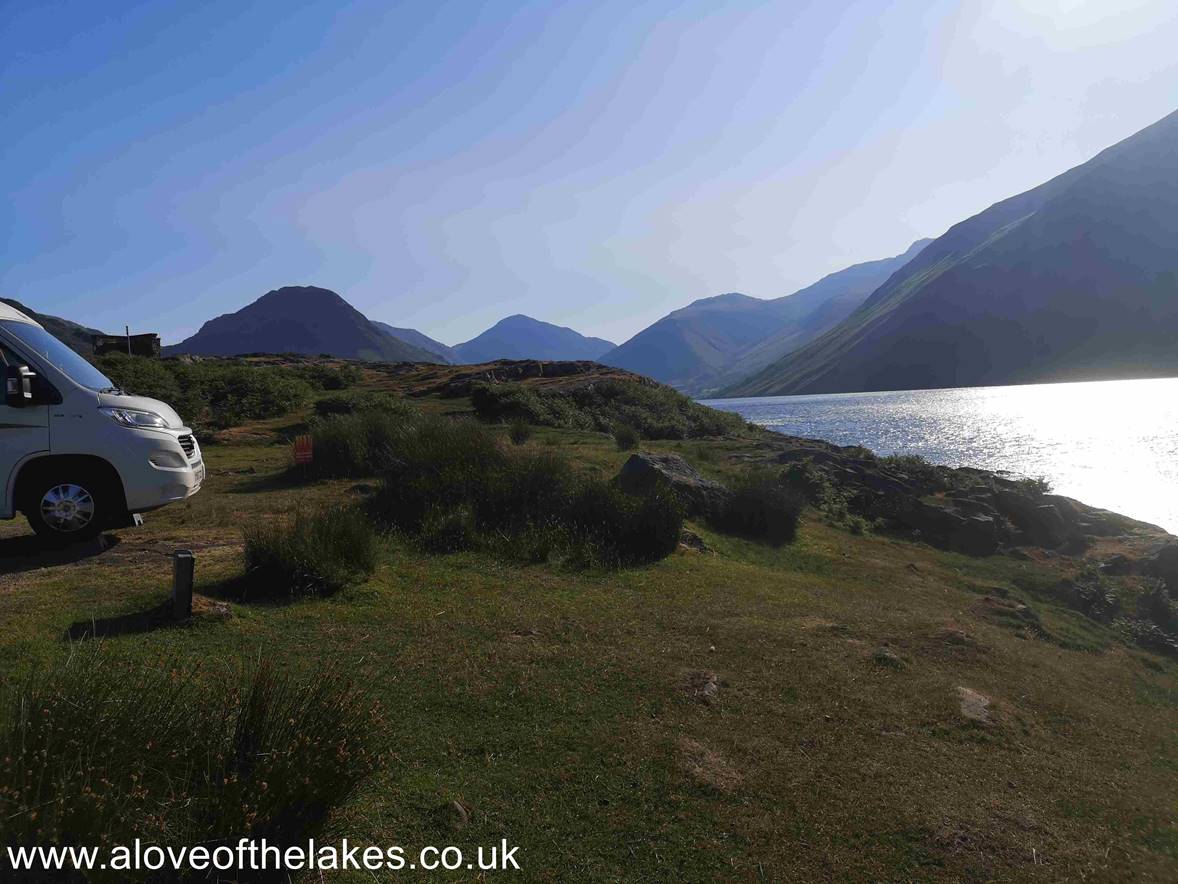
The
"classic" view of Wasdale Head on the road to the car park at
Overbeck Bridge. Due to the hot weather we started the walk
at
08:00 in order to get the initial height climb out of the way in the cooler
part of the morning
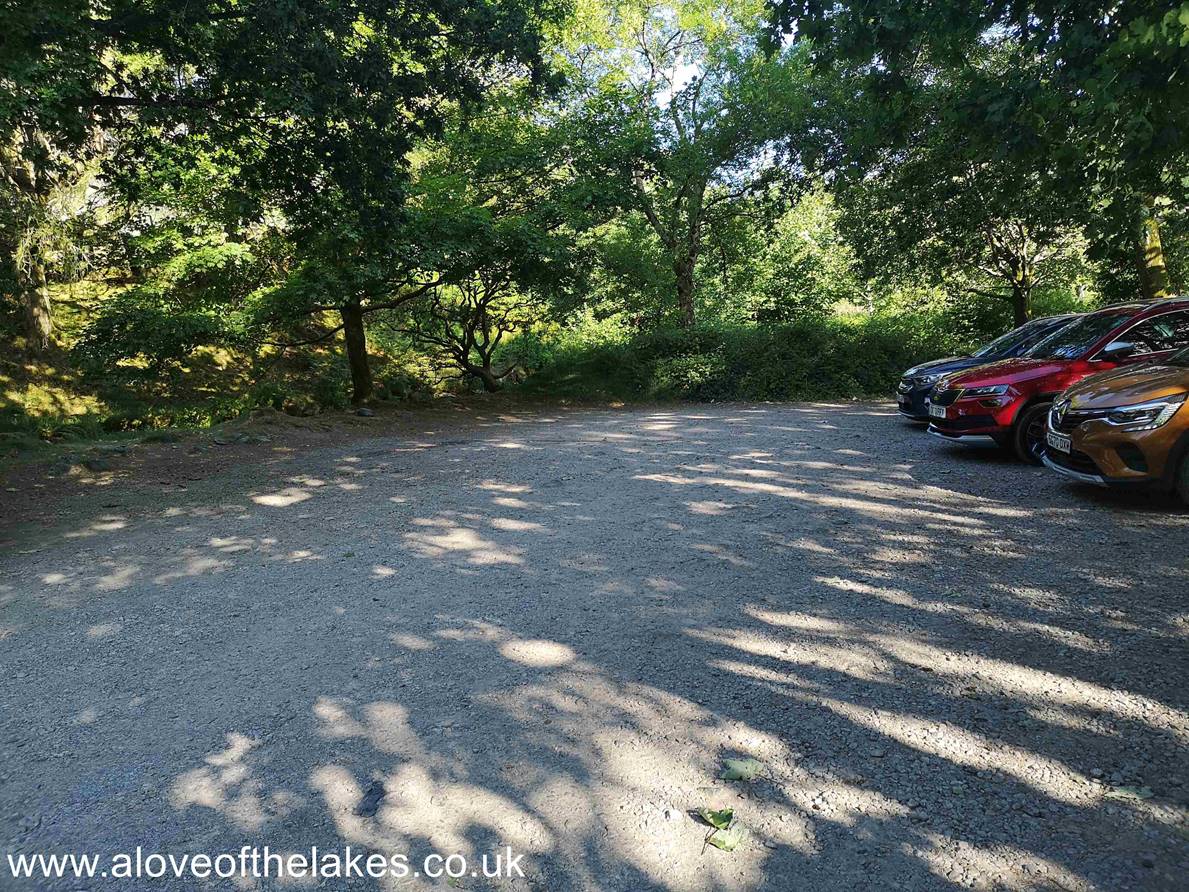
The
car park at Overbeck Bridge is the starting point for this walk. Parking is
free but there is an honesty box in which to leave a donation
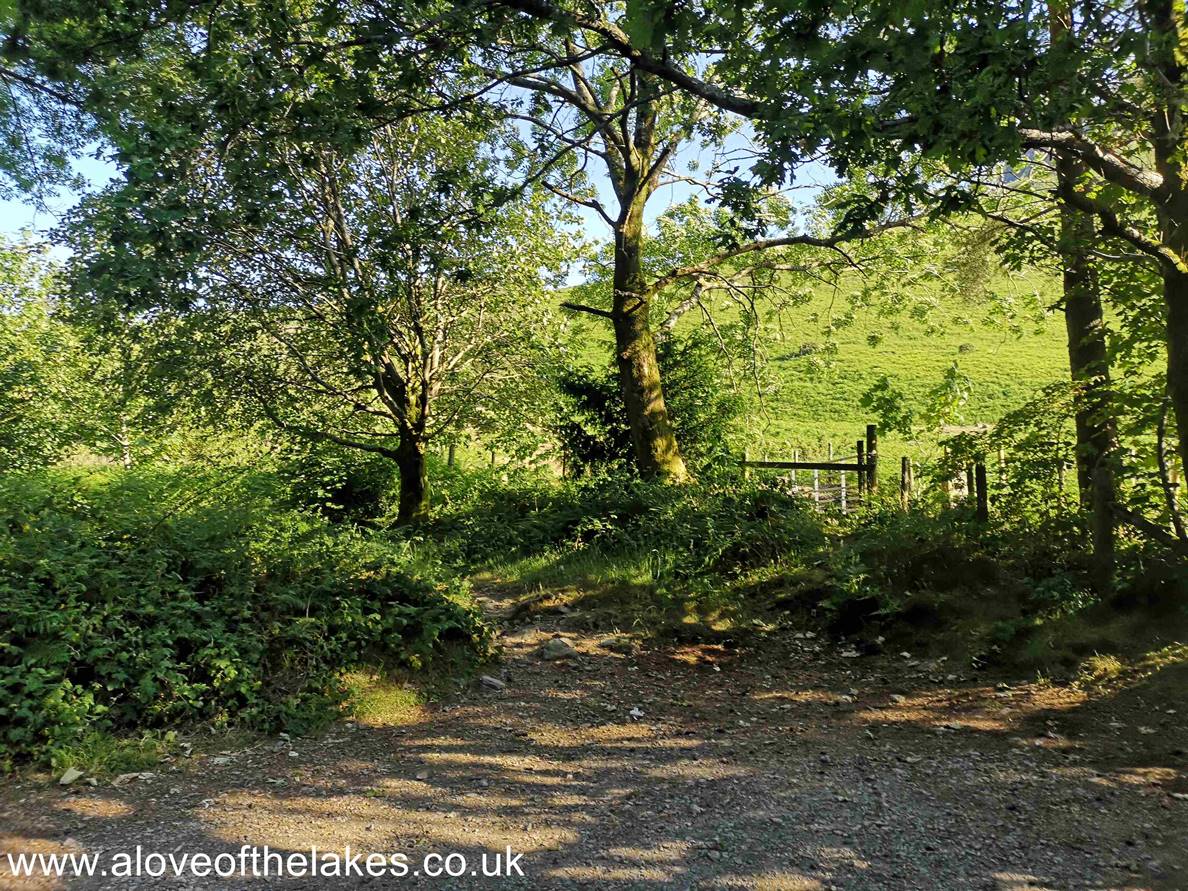
A
track at the bottom end of the car park leads out to the open fell side at the
base of Yewbarrow
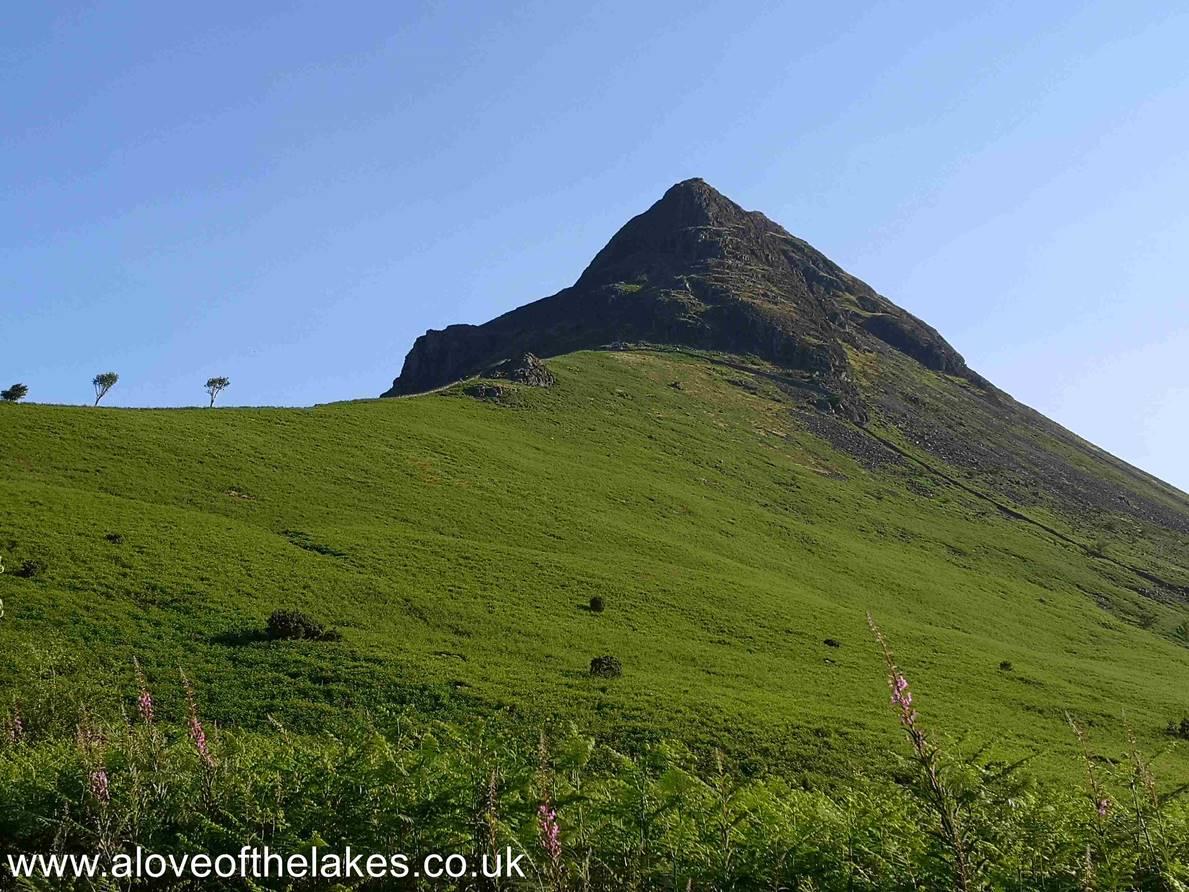
Out
on the open fell side now and looking up to the imposing sight of Bell Rib on
Yewbarrow
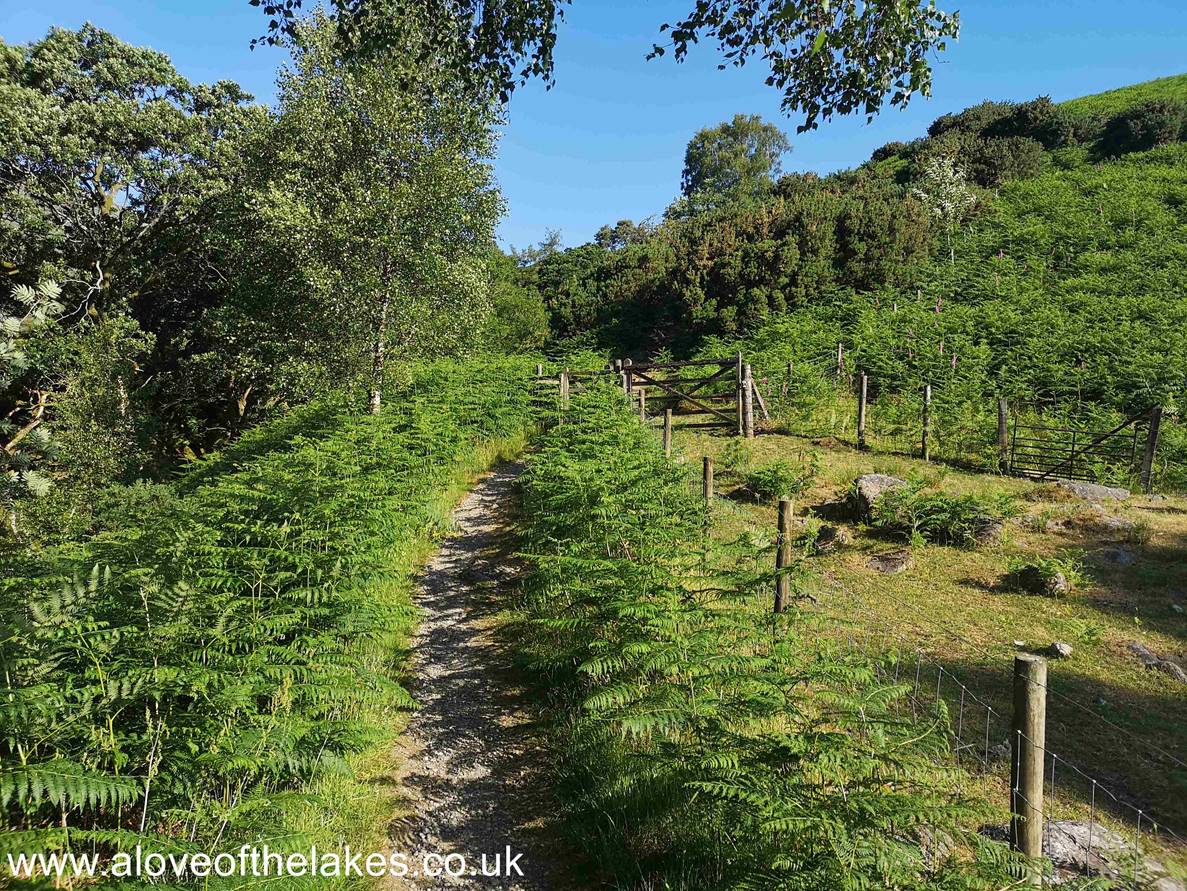
A
path that cuts through a heather patch leads up to a hand gate
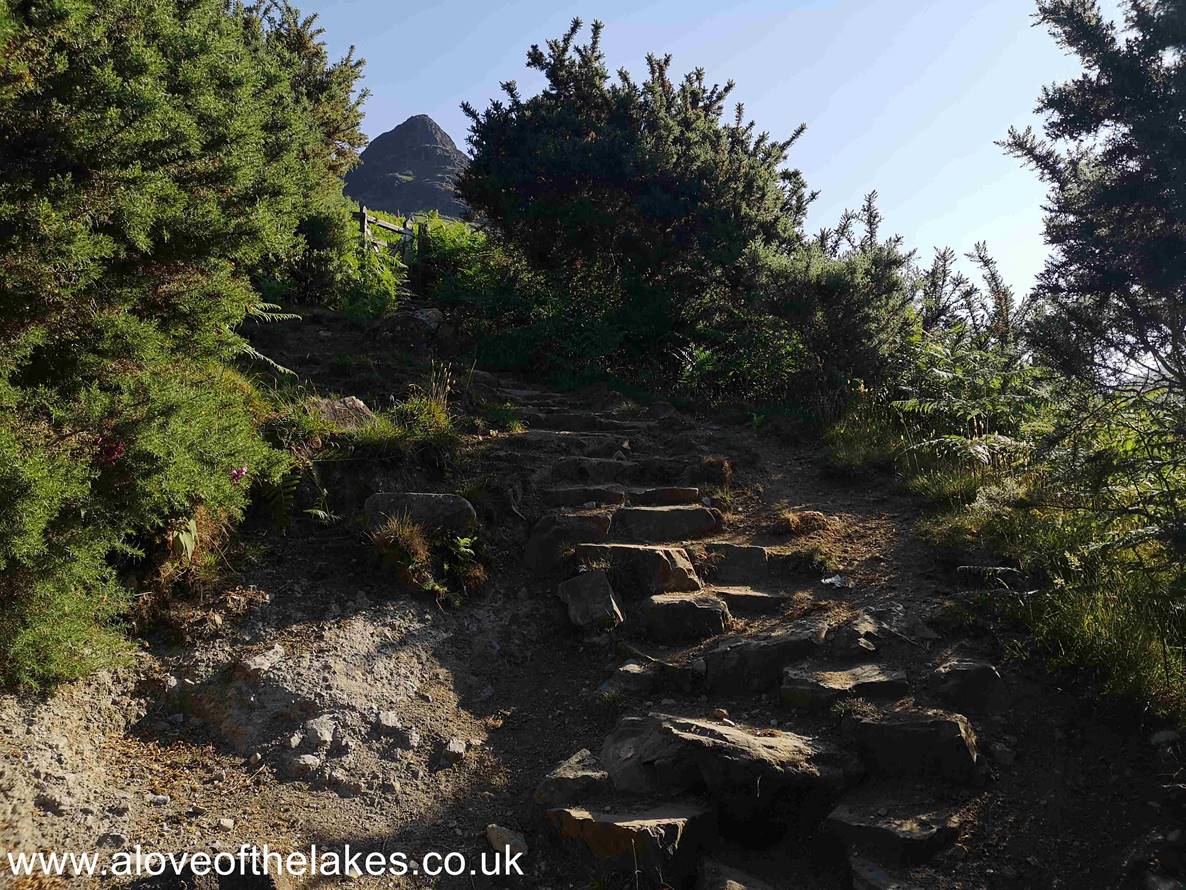
Through
the gate and the path becomes stepped to assist with the steepness.
In
to the climb properly now and the ground rises steeply towards a wall style
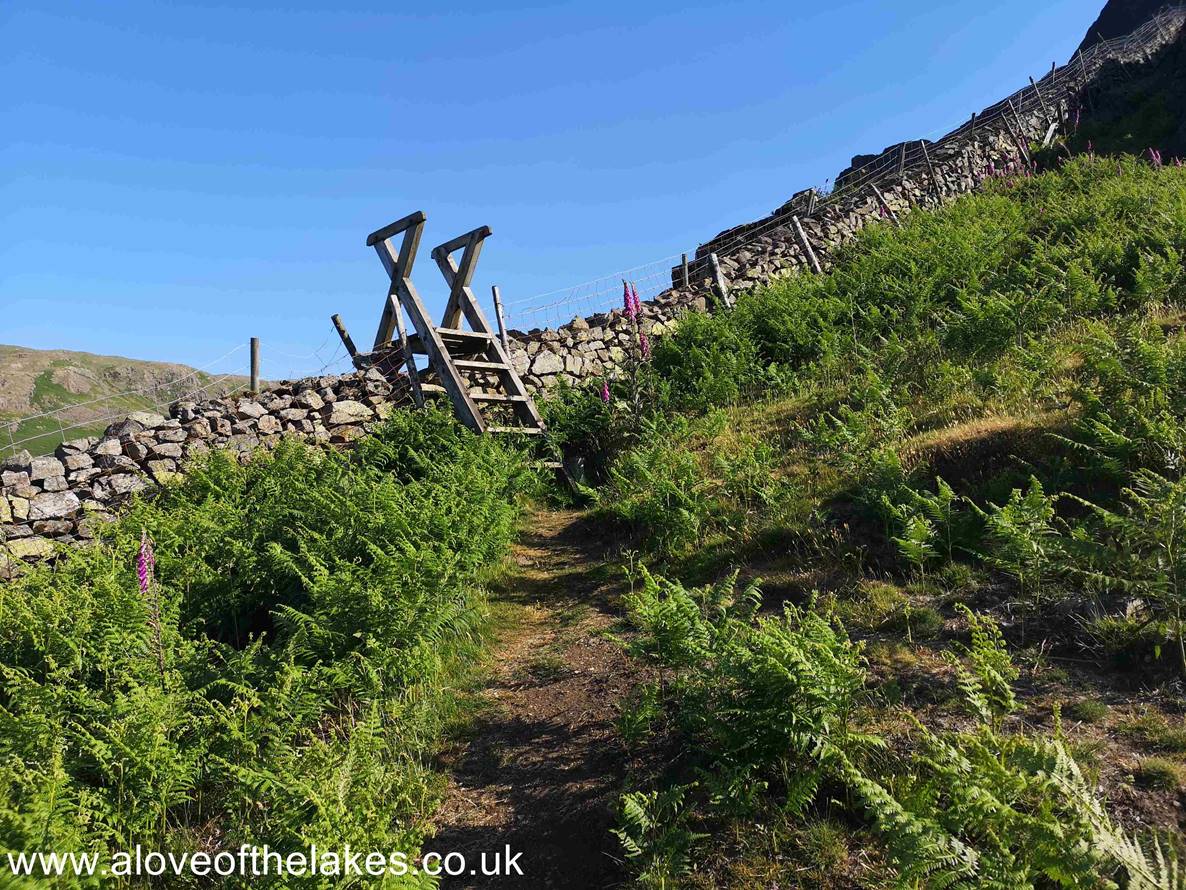
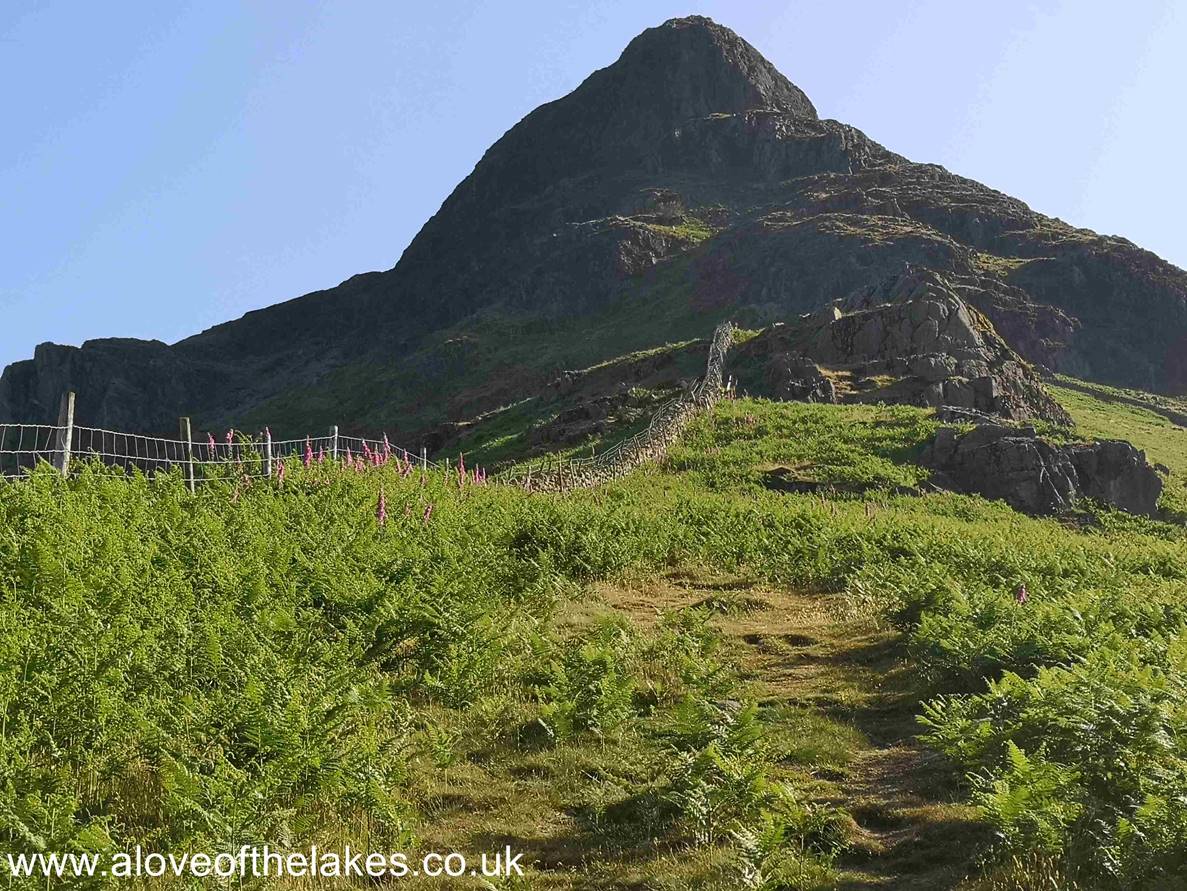
The
wall style. Cross over this and take the path that heads left leading toward
Dropping Crag and Bell Rib
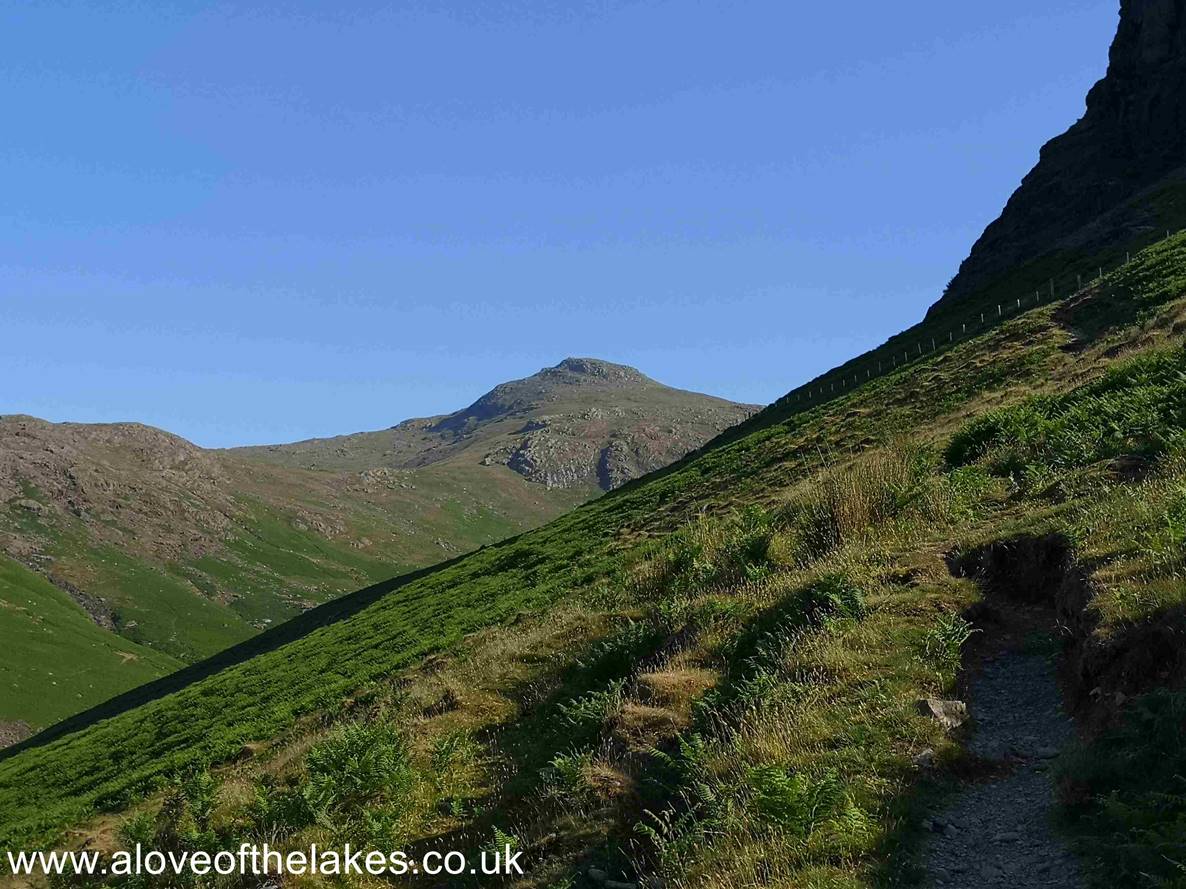
Over
the wall style and the path swings left of the main bulk of the mountain and
heads towards another gate. The second fell
of
the day Red Pike can be seen in the background
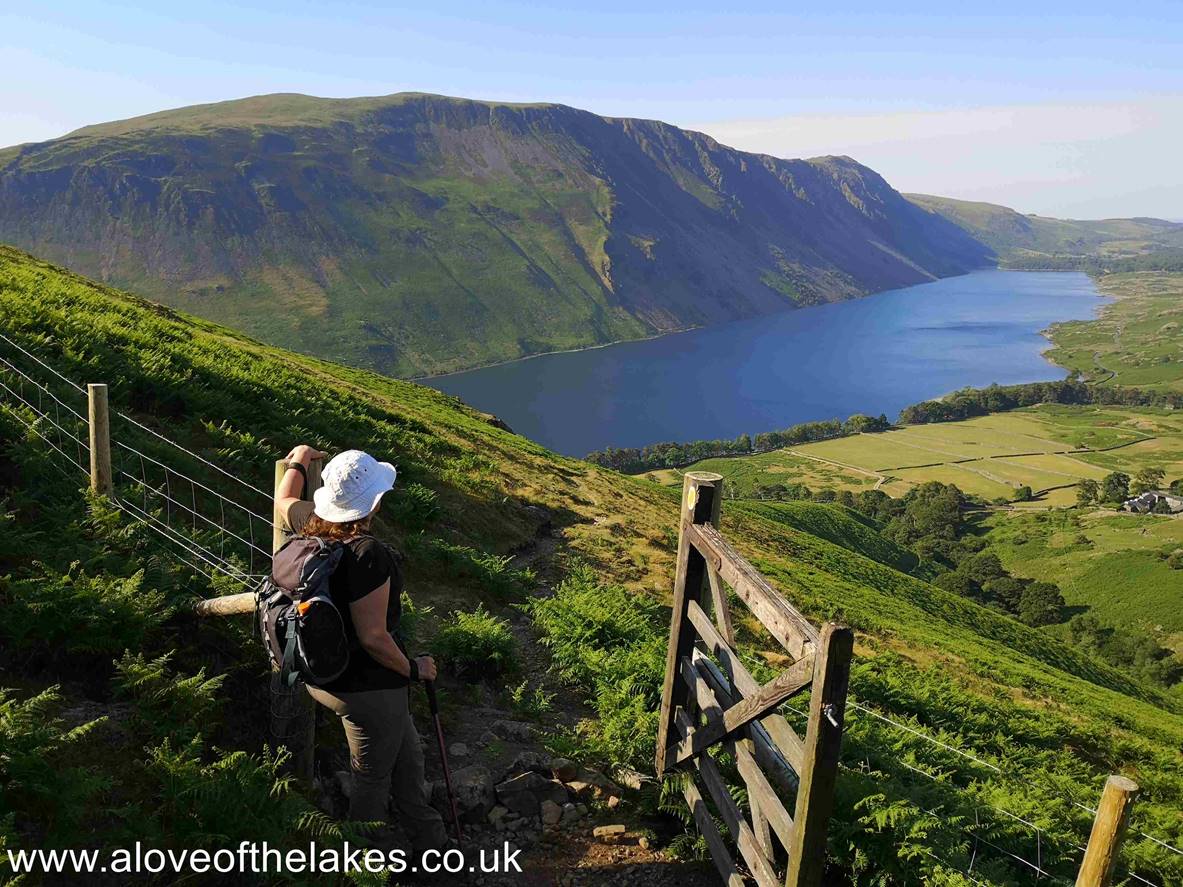
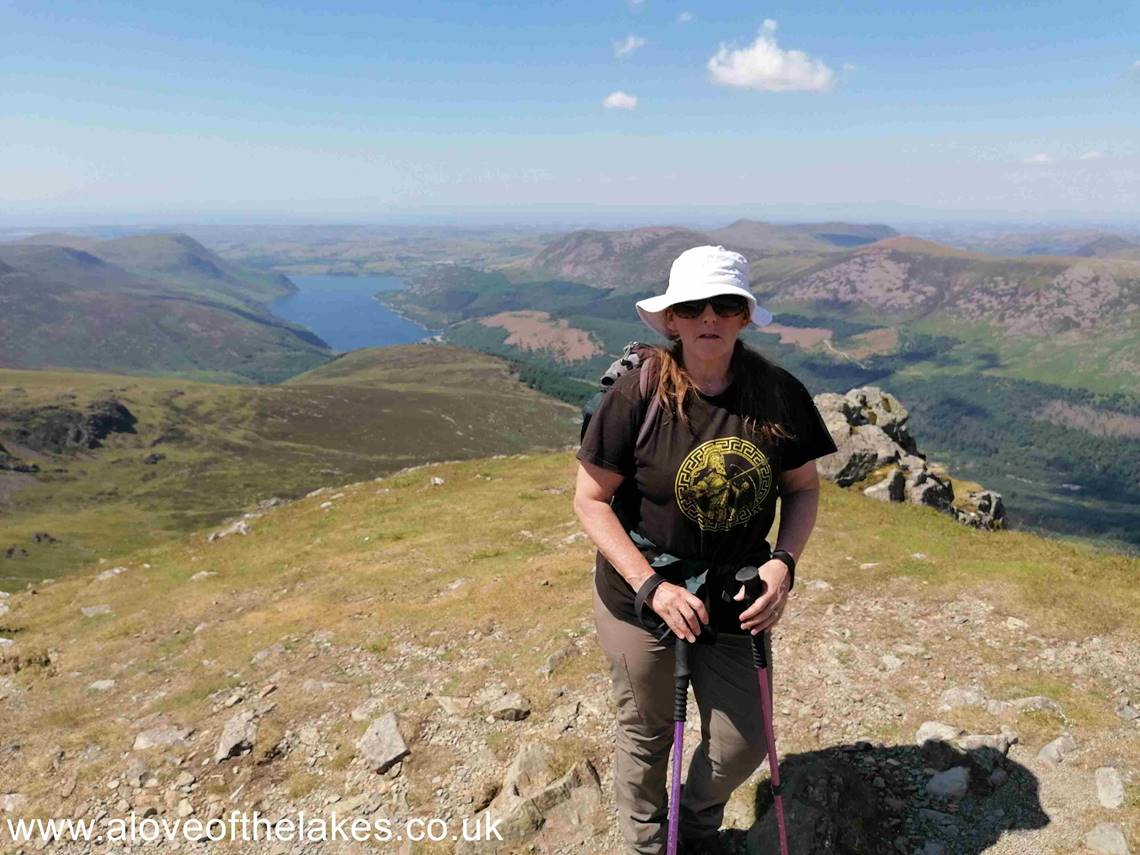
Through
the gate and Sue pauses to look back at the wonderful view of Wast Water and
the Screes
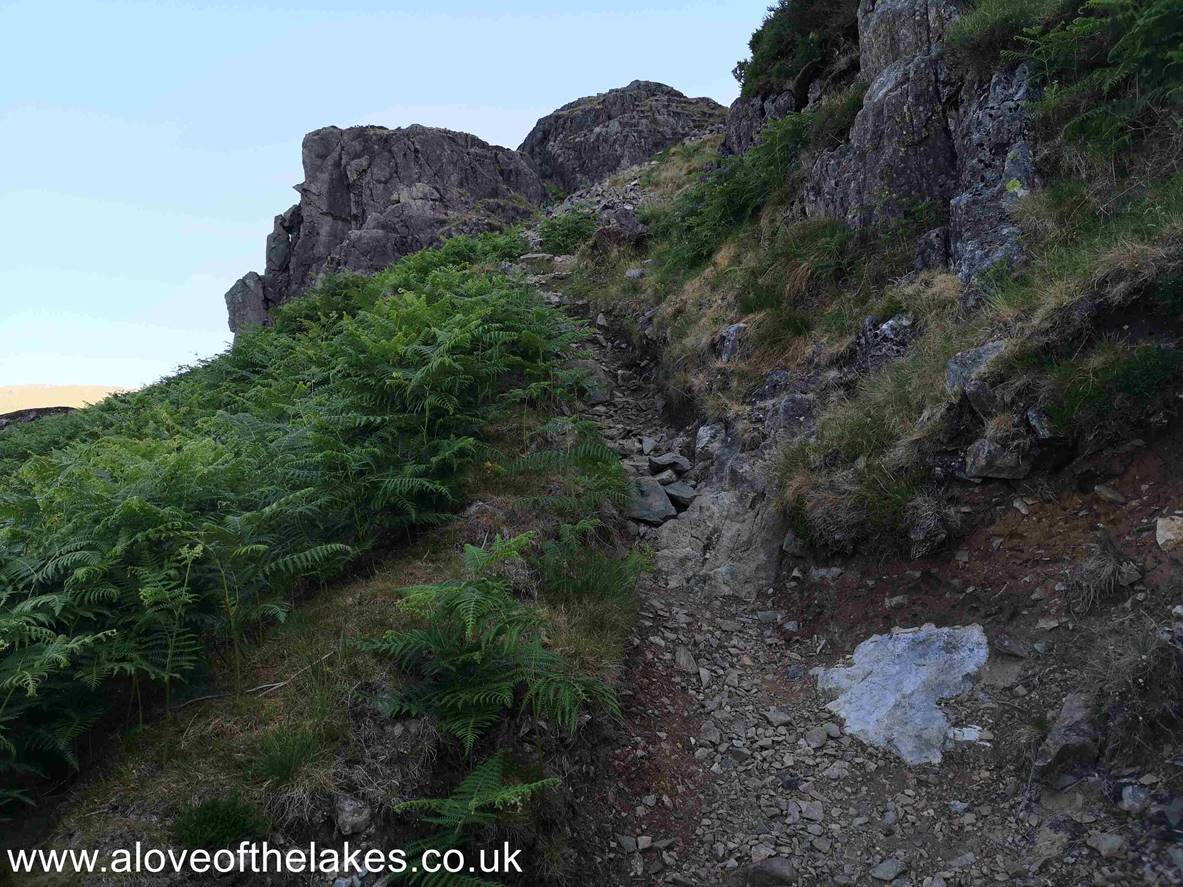
The
climb now starts in earnest as the path zig zags its way towards Dropping Crag
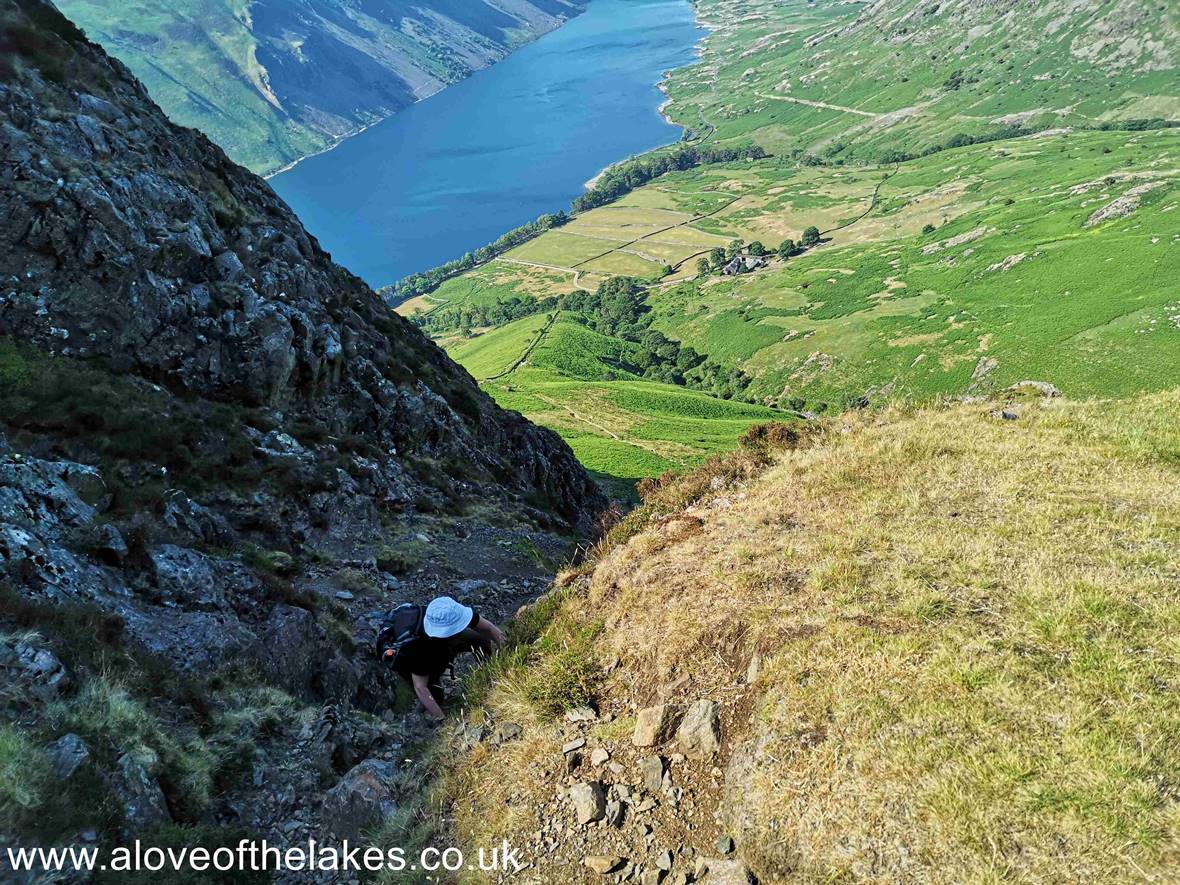
Sue
on the scramble up the gulley. The track is quite safe to climb and there are
no areas of exposure
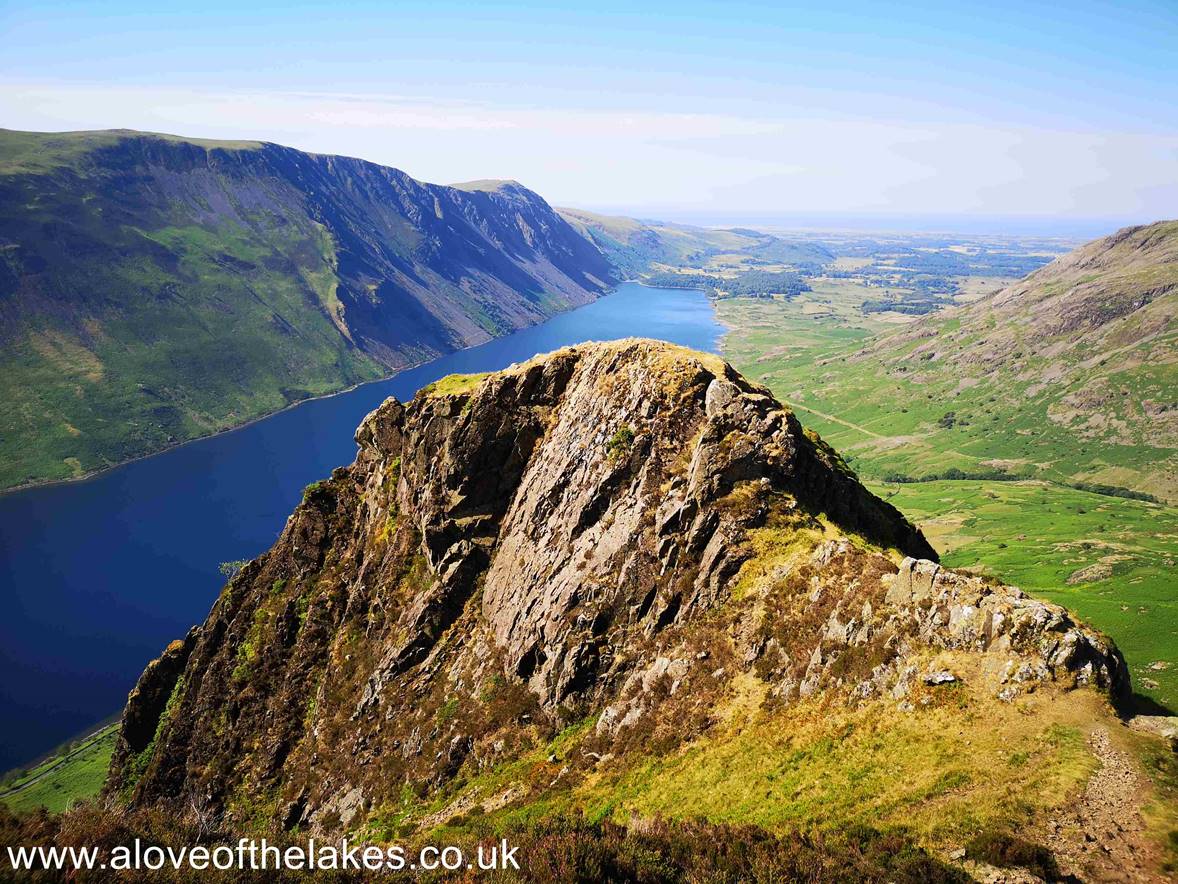
Nearly
at the top of the gulley now and if you want to avoid Bell Rib shown here, then
keep to the left when climbing up the gulley
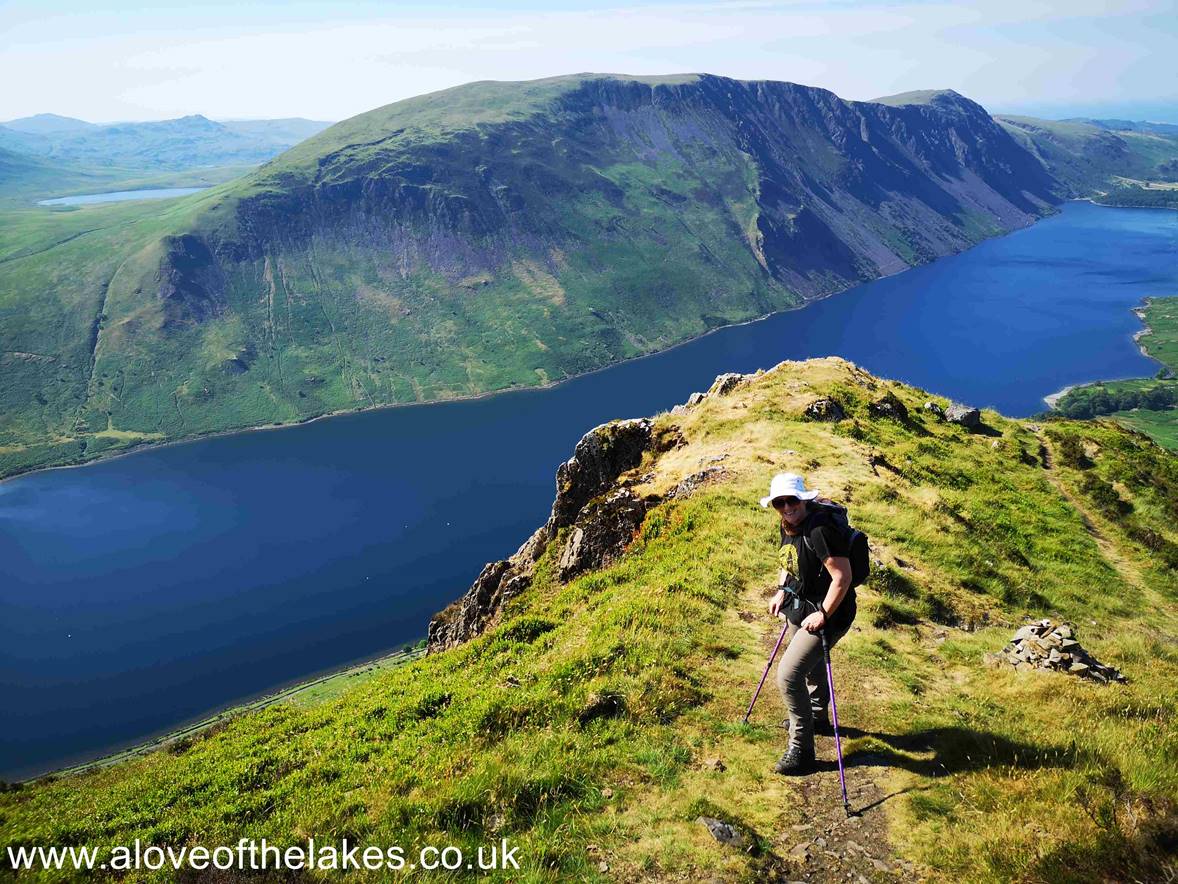
Sue,
having emerged from the gulley
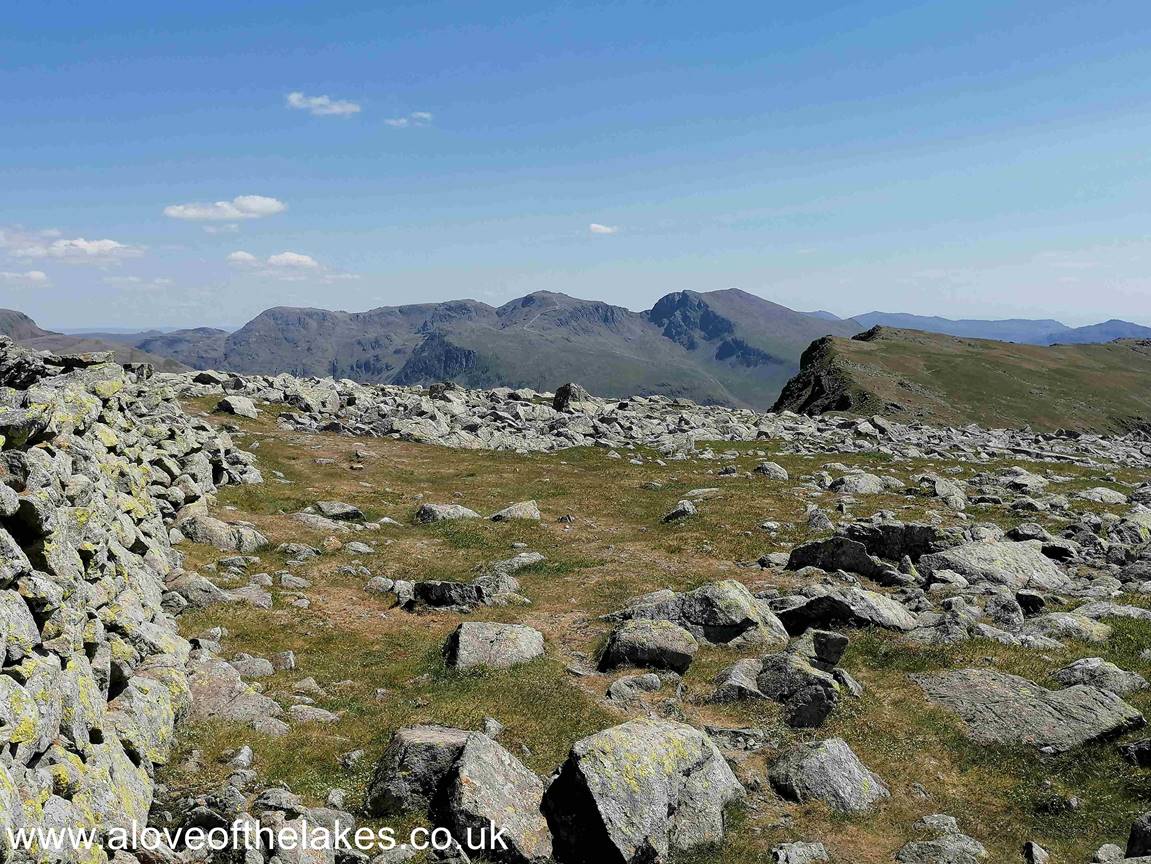
The
views really start to open up now. Here looking across Wast Water to the
Scafells
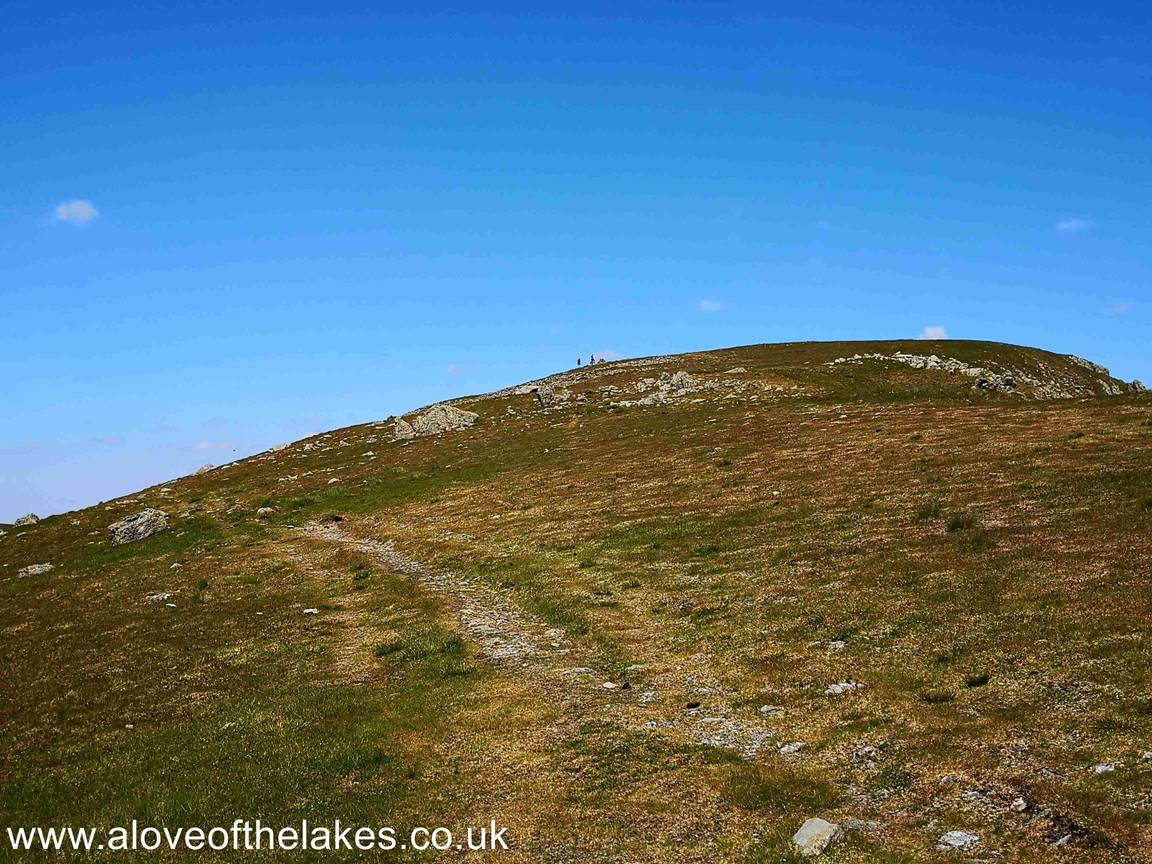
From
the top of the gulley just keep following the well-defined path that leads to
the South Summit cairn on Yewbarrow

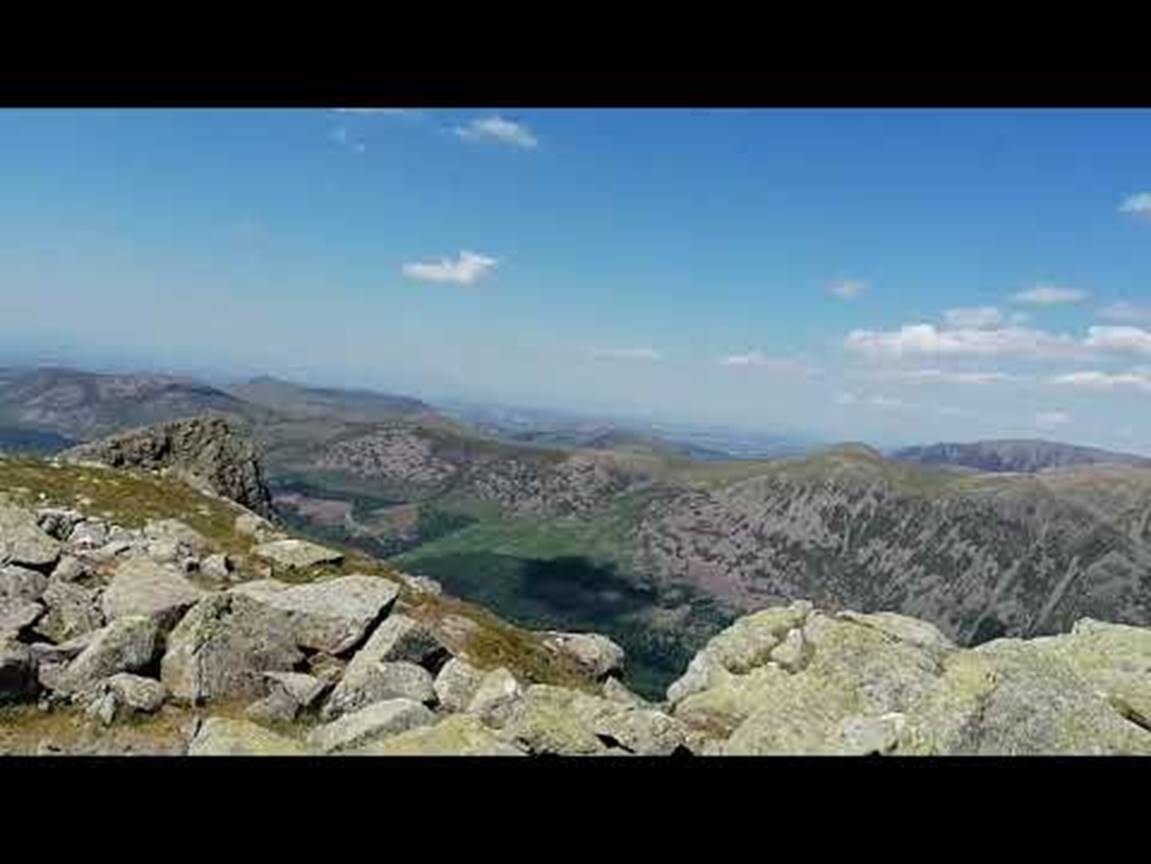
A
360-degree view from the summit of Yewbarrow
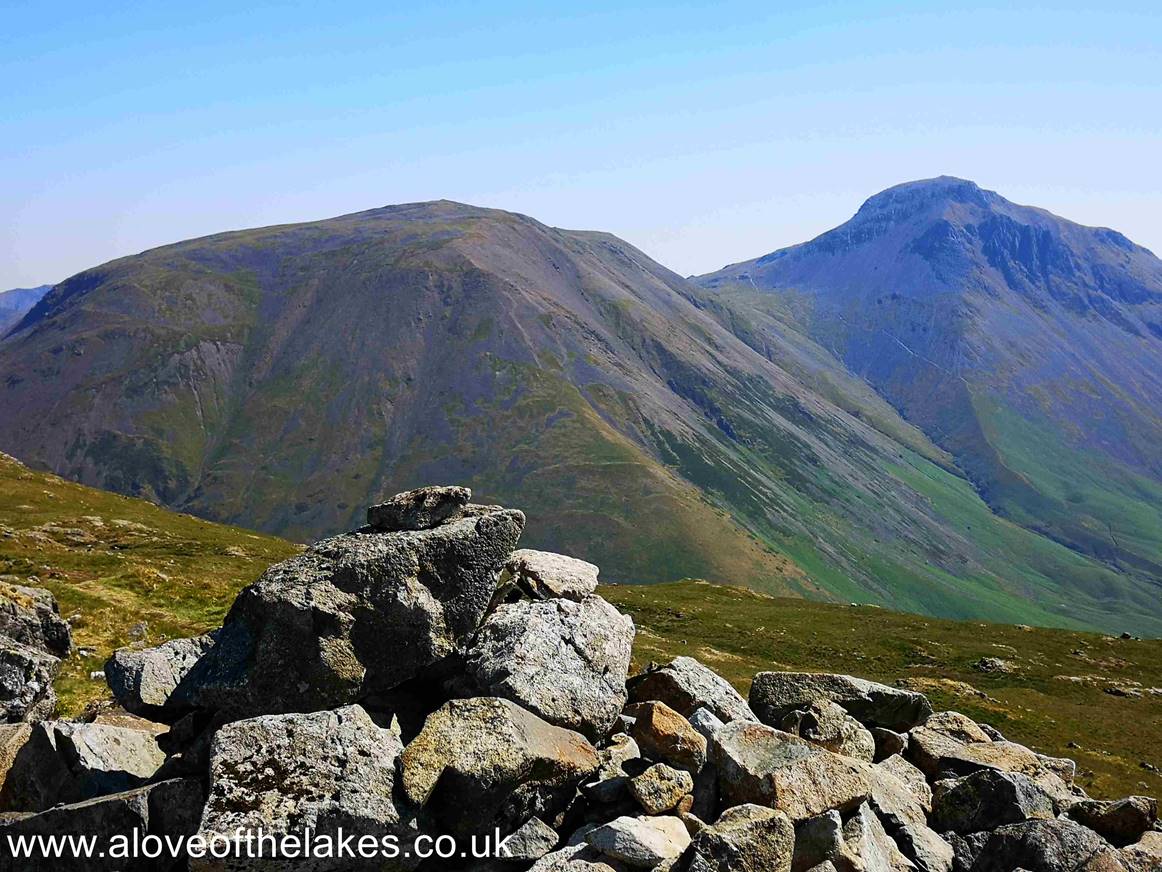
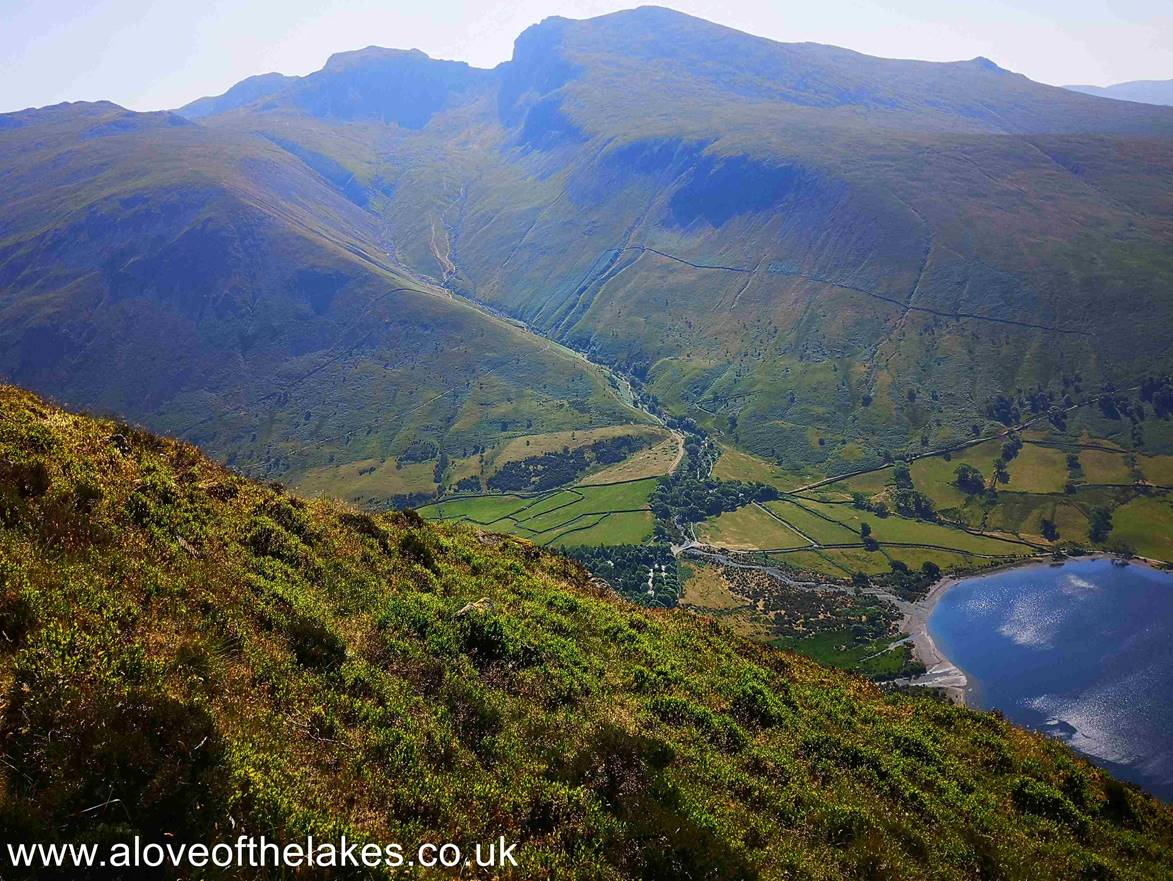
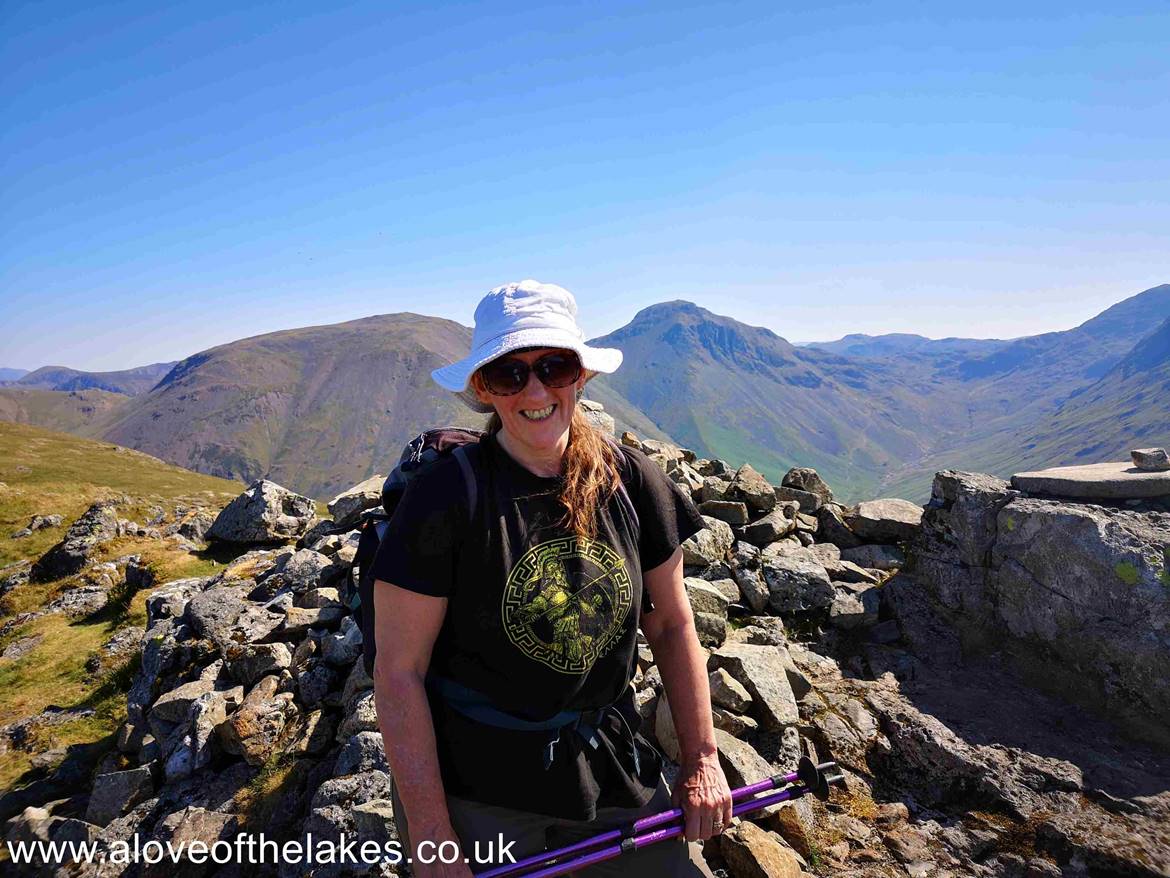
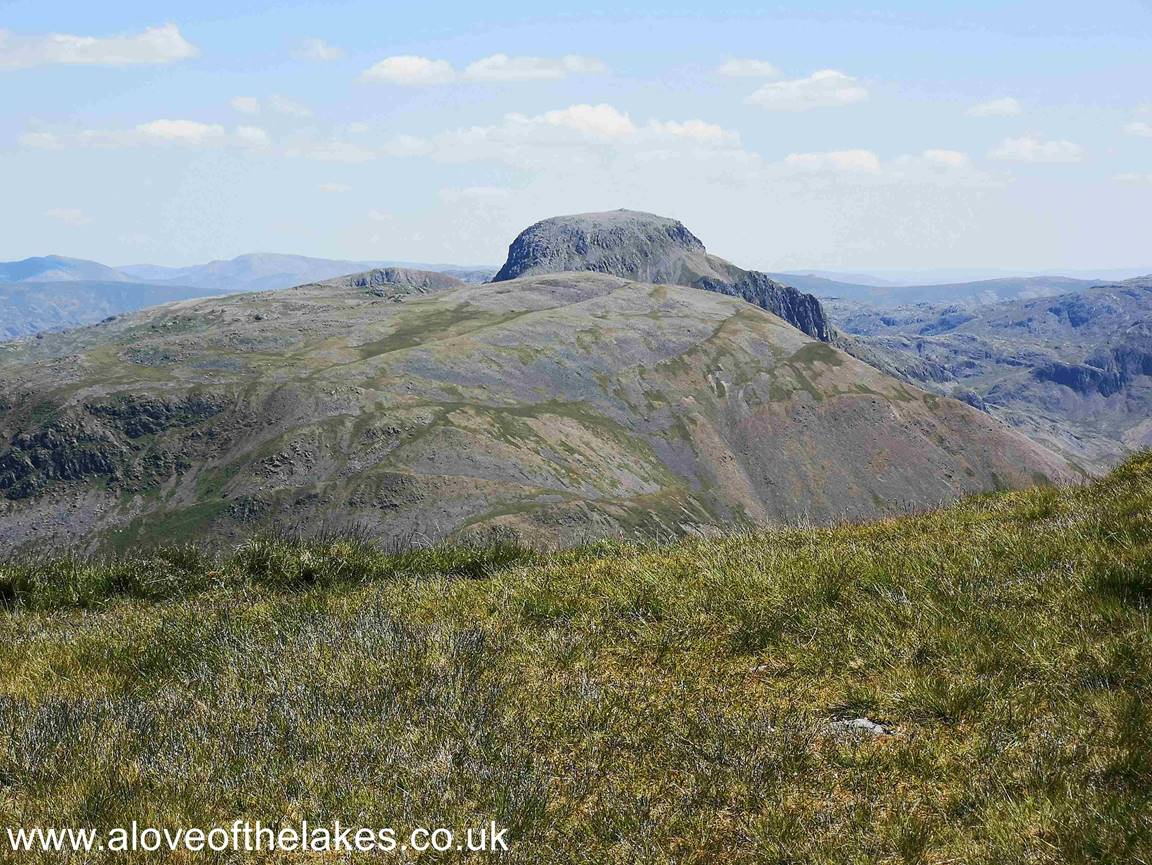
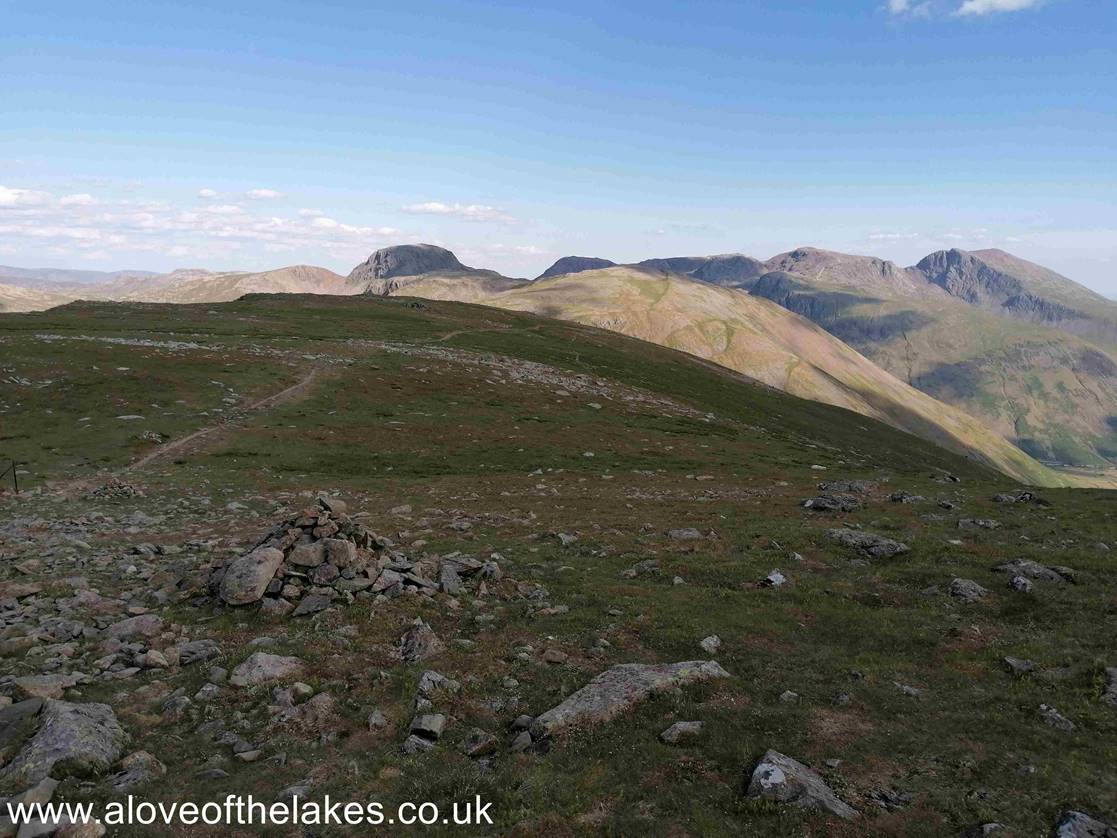
The
imposing site of Kirk Fell in the foreground with Great Gable behind from the
summit of Yewbarrow
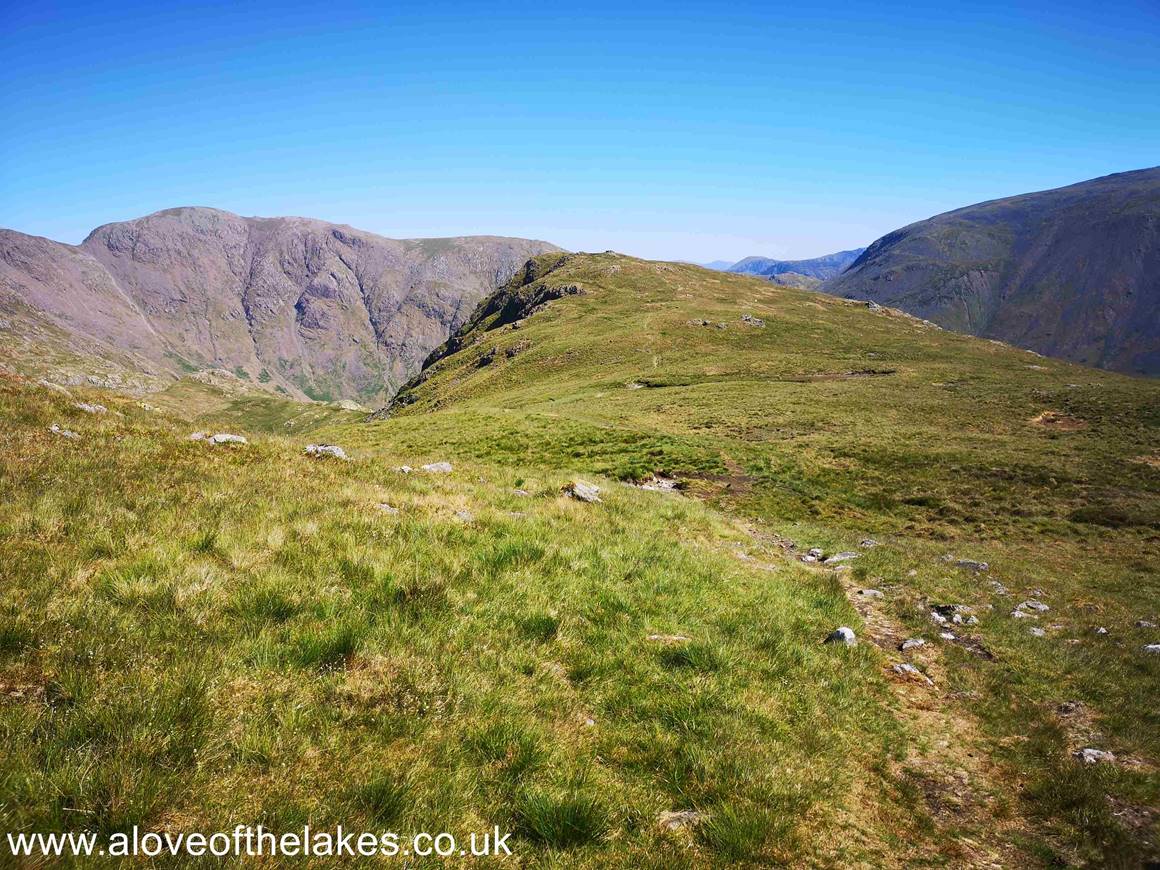
We
set off from the South top towards the North top to pick up the side path off
Yewbarrow (thus avoiding Stirrup Crag).
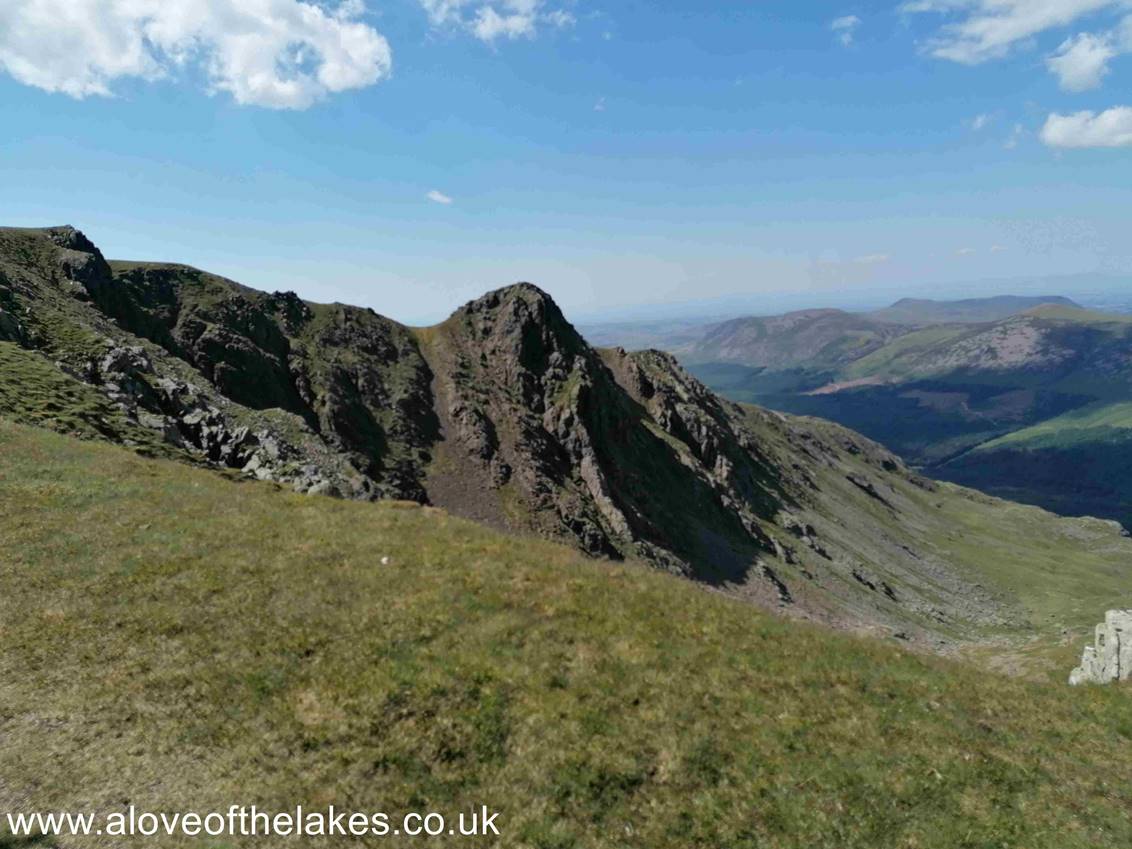
The
side path lies roughly in the dip between the two tops (here seen branching
left). This is for those walkers like us that
would
not feel safe descending Stirrup Crag
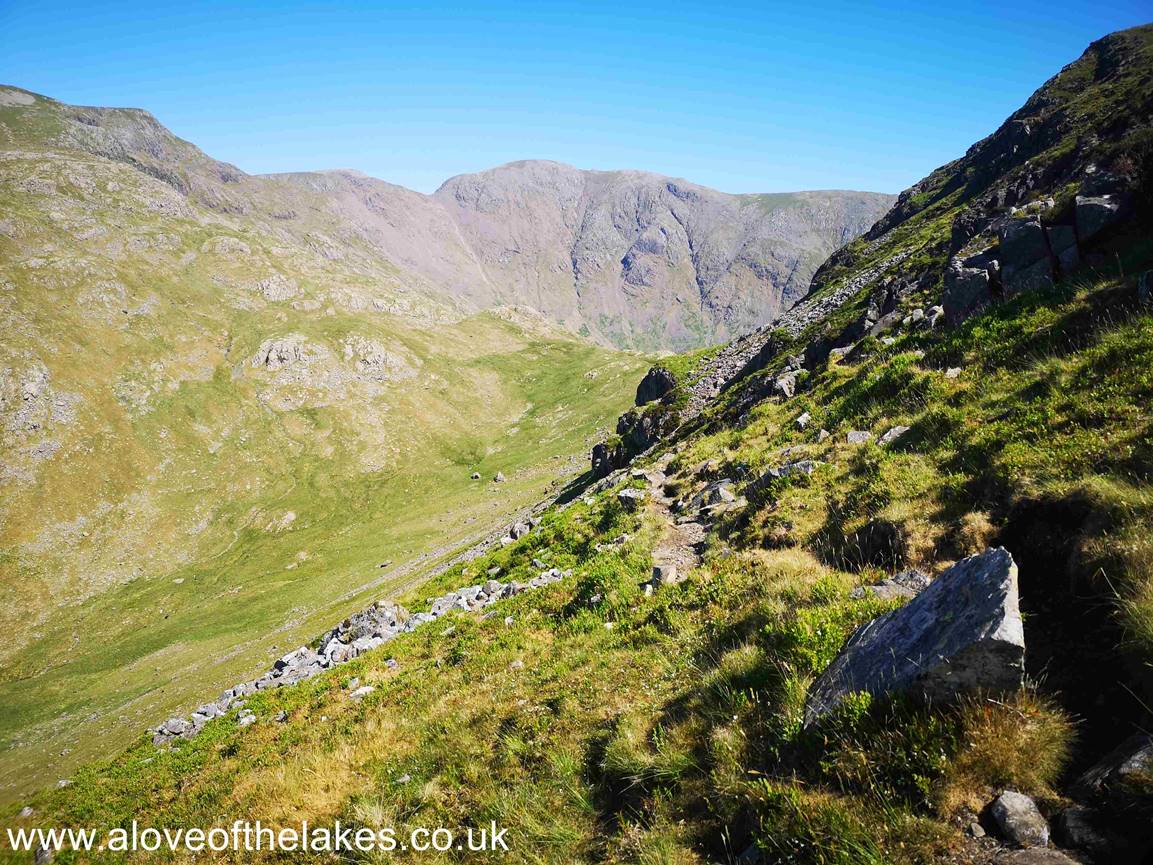
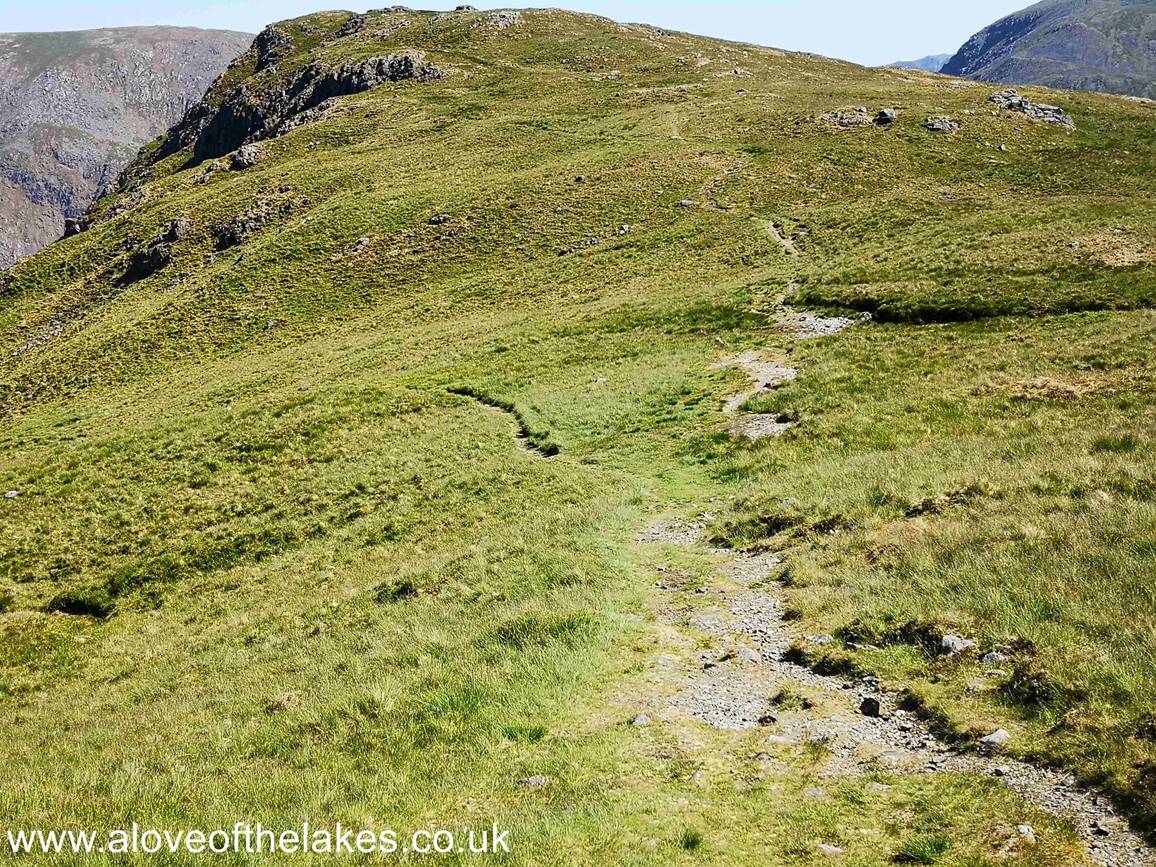
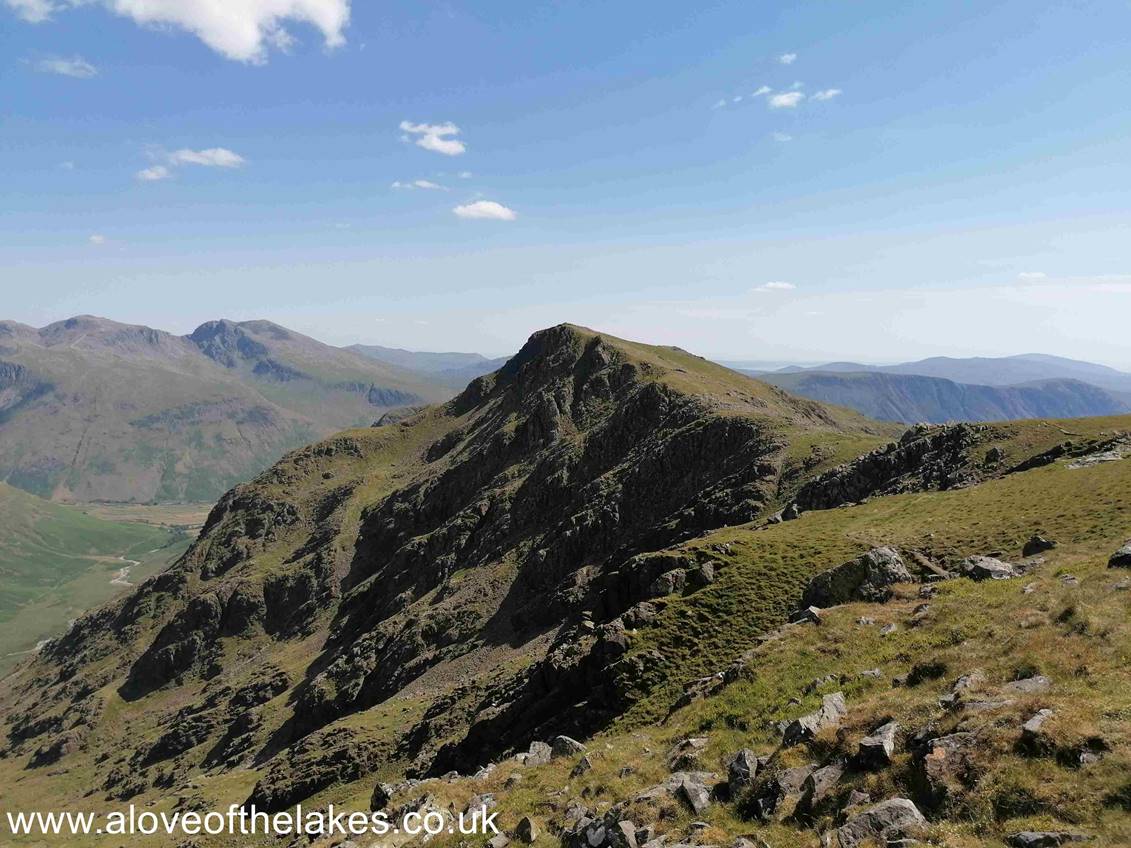
The
path cut into the side of the mountain journeys over a set of boulders as it
leads gently down to Dore Head and is a
perfectly
safe route
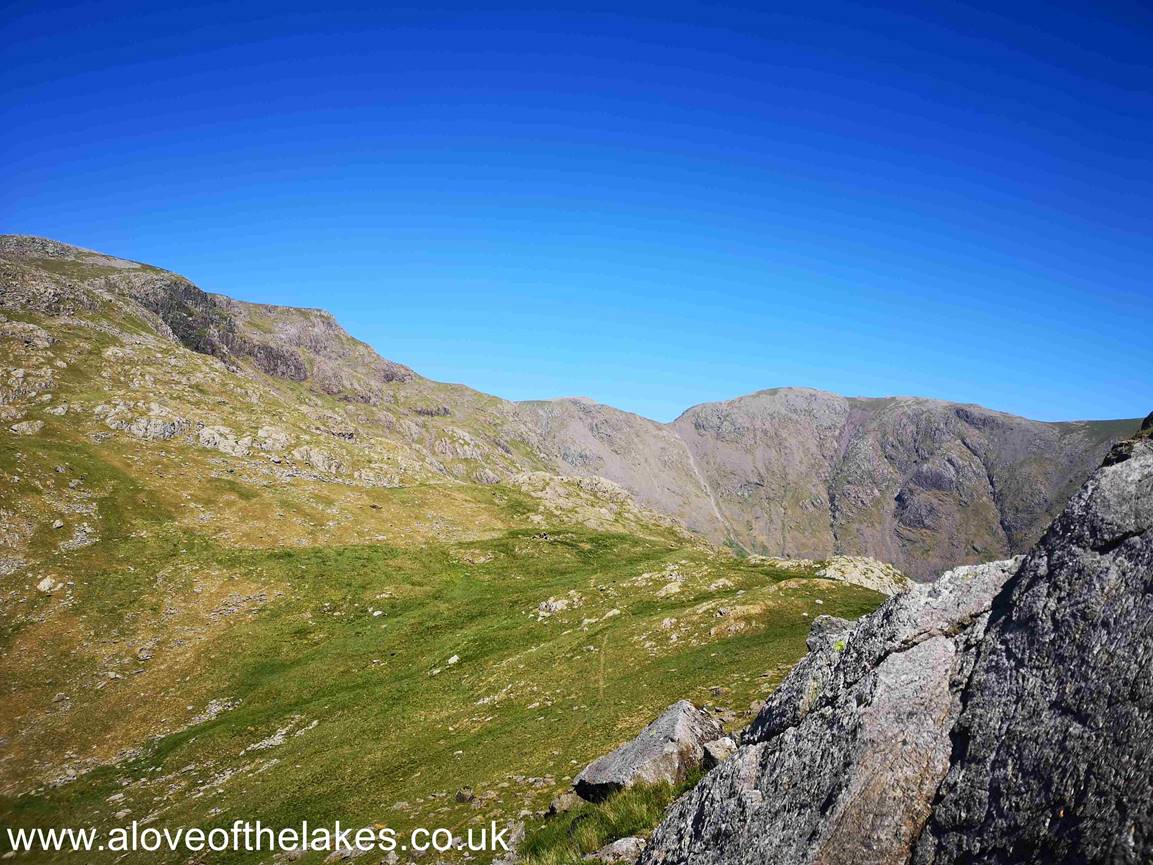
Approaching
Dore Head and the start of the climb up to Red Pike. Pillar the last fell in
the horseshoe walk can be seen in
the
background

Sue
here at Dore Head and feeling very glad to have avoid the perils of Stirrup
Crag in the background
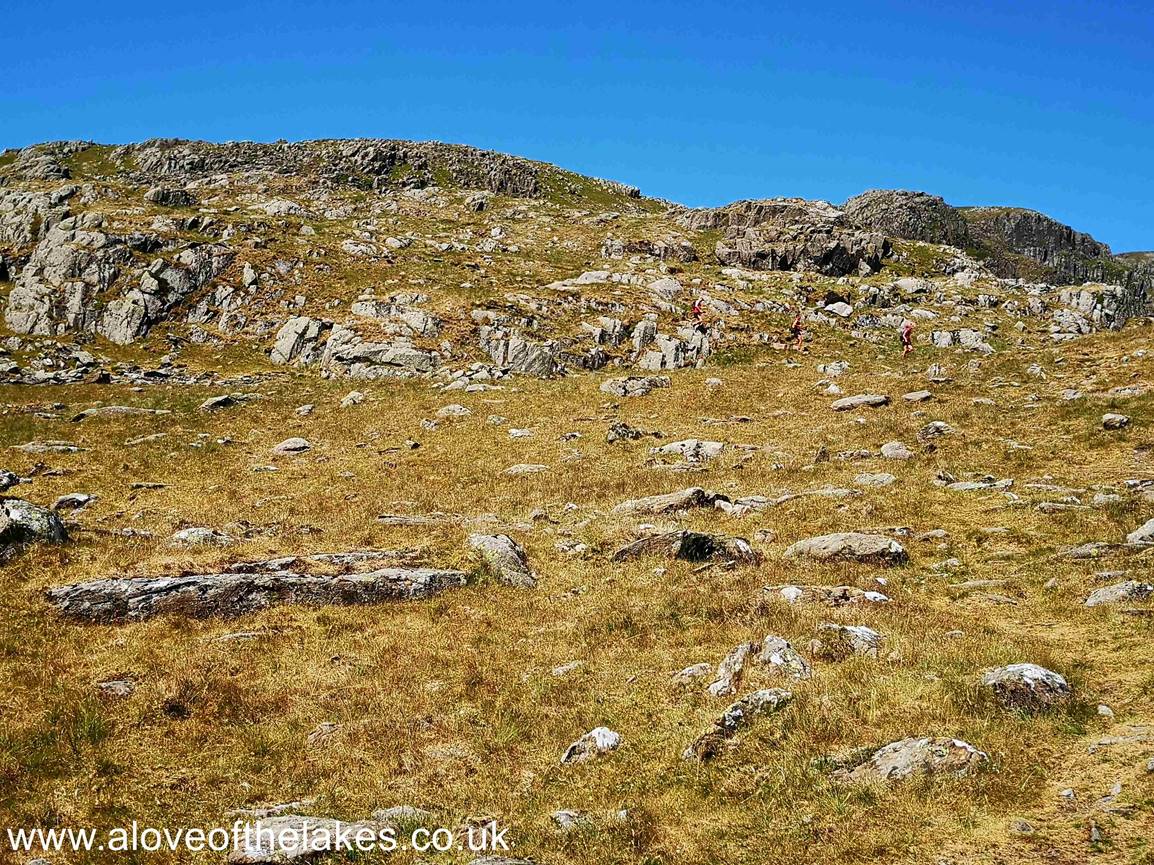
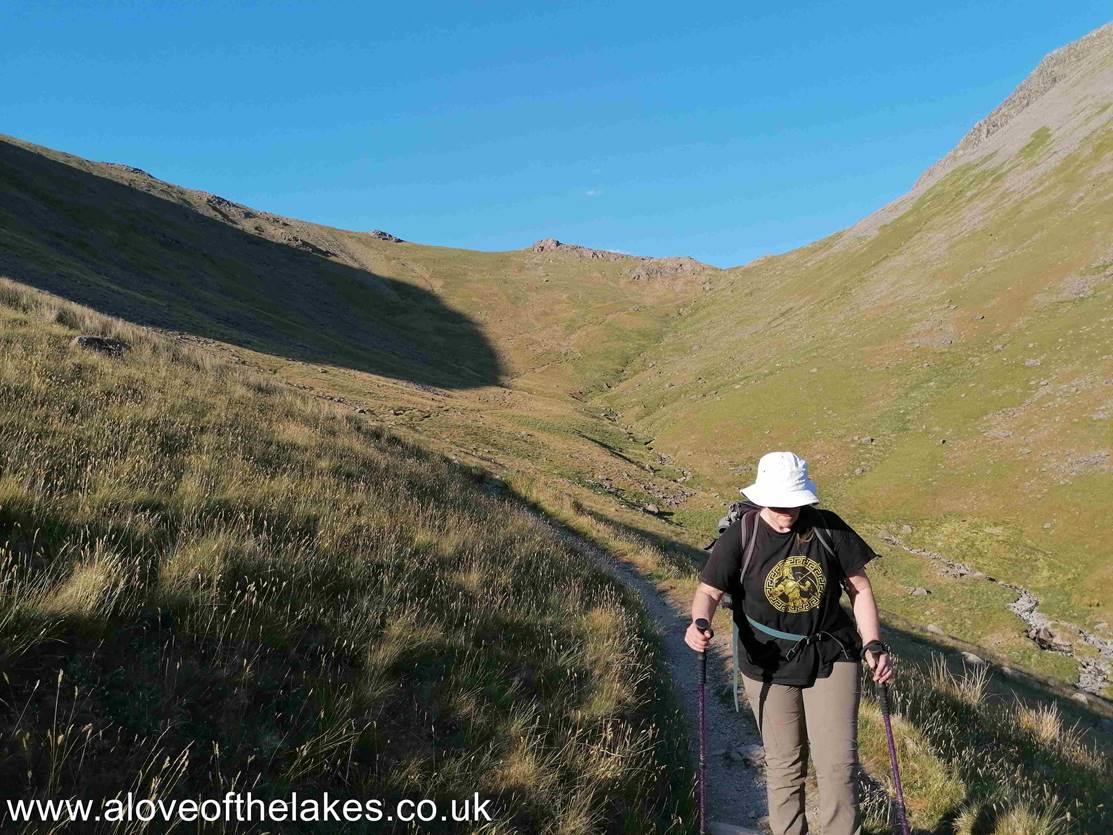
By
now the heat was ramping up as we started to climb up to Red Pike. The path is
good throughout. Here some fell runners
descending
to journey over to Yewbarrow
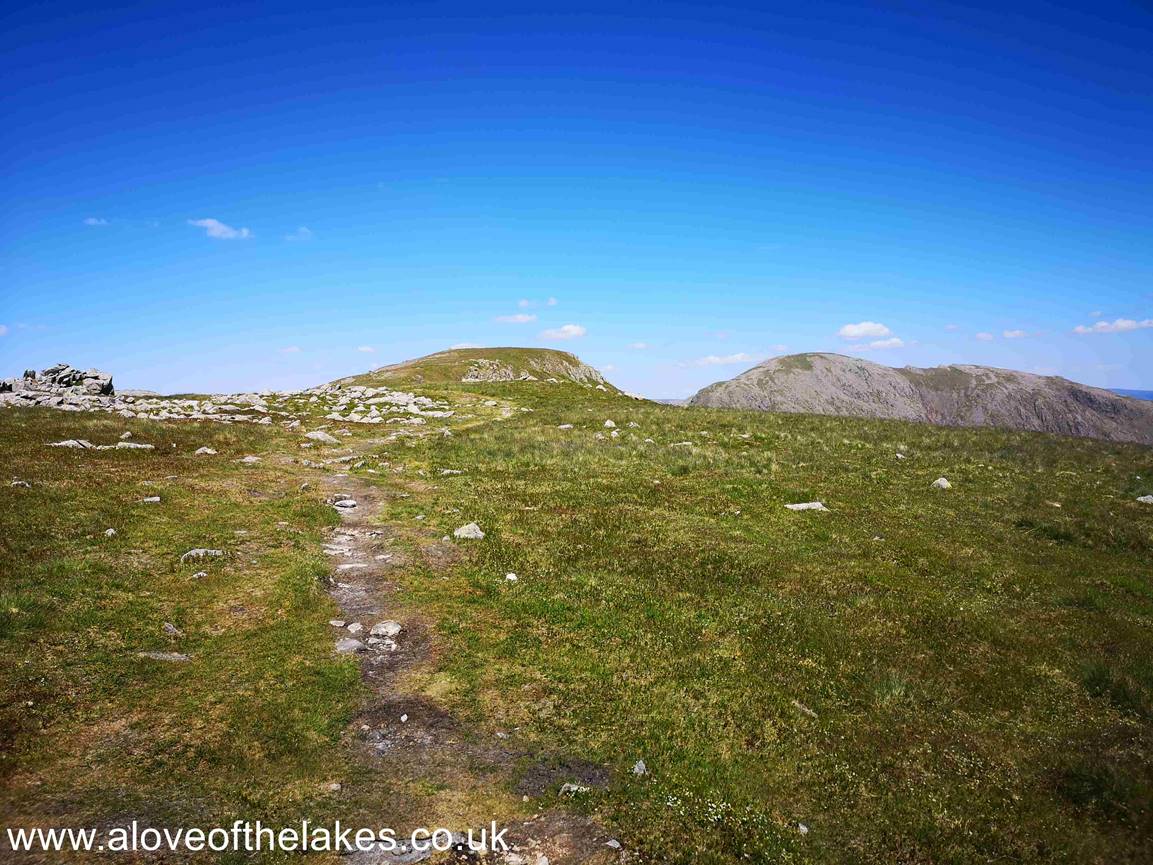
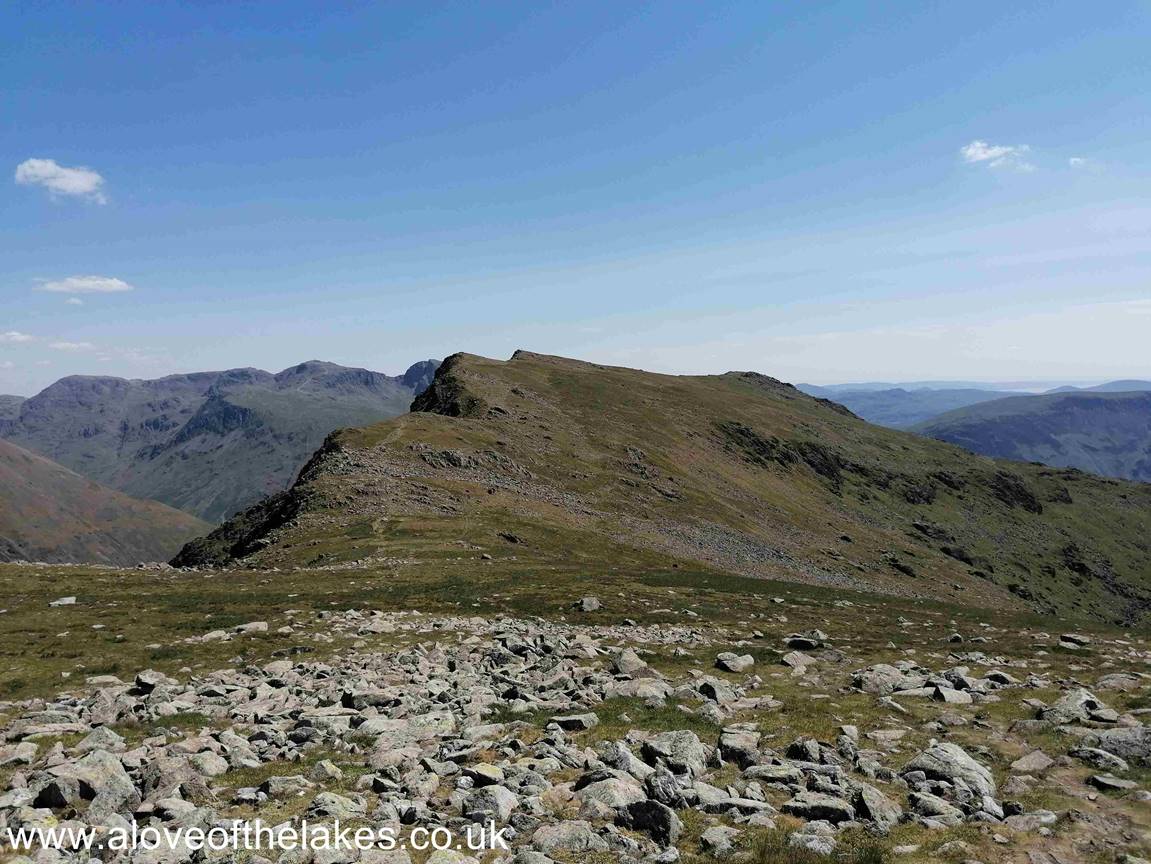
The
well-defined path zig zags around boulder outcrops and eventually levels out.
Here the summit of Red Pike can be seen
in
the centre of the shot
On
the approach to the summit. Very easy walking
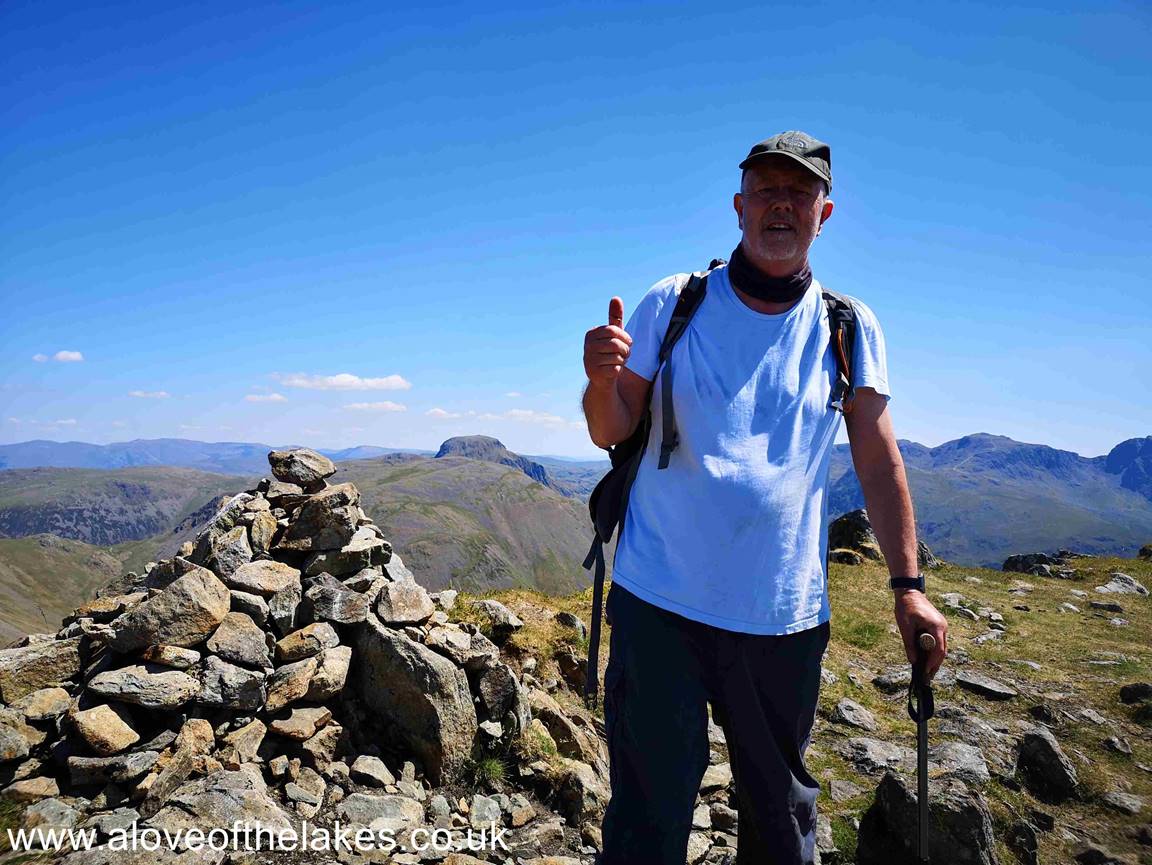
Me
on the summit of Red Pike. The summit cairn is right on the edge of a steep
precipice, so be careful to exit the fell on the
left
hand side !!!
A
360-degree view from the summit of Red Pike (Wasdale)
Great
Gable peeping over the top of Kirk Fell from the summit of Red Pike
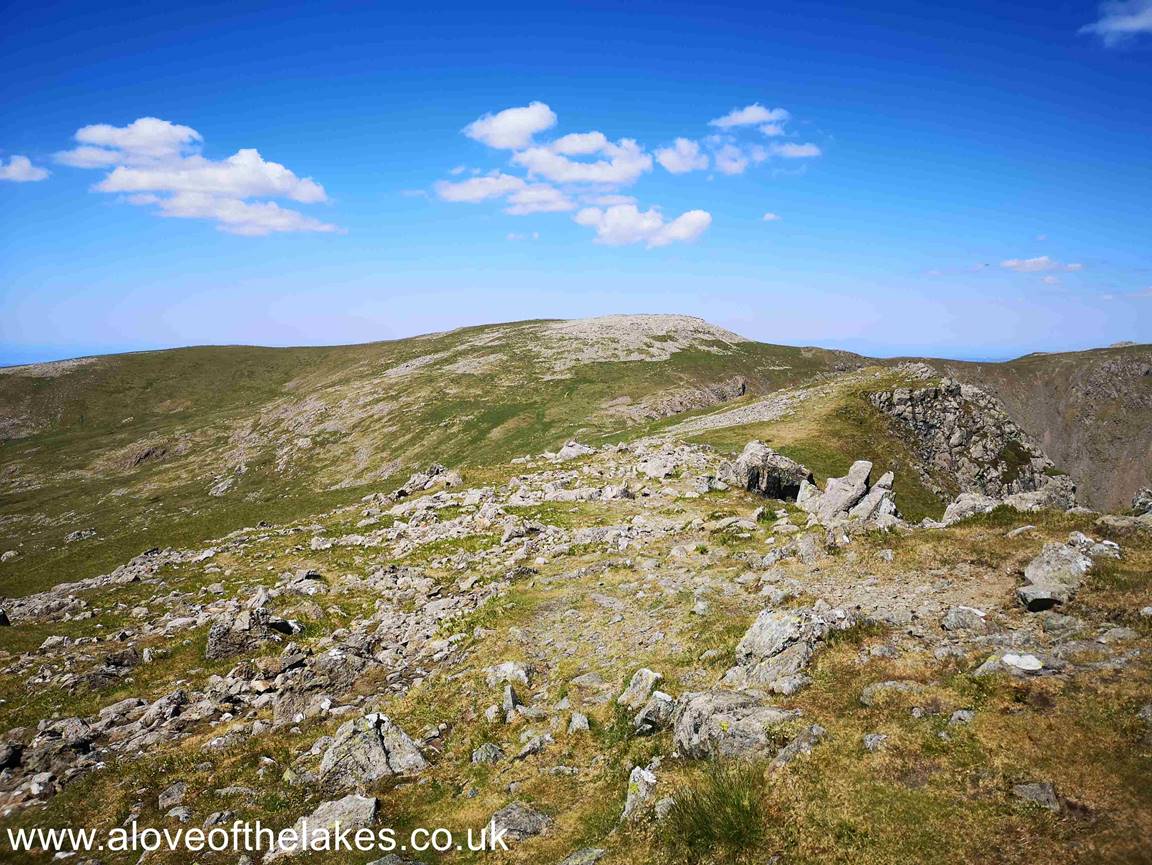
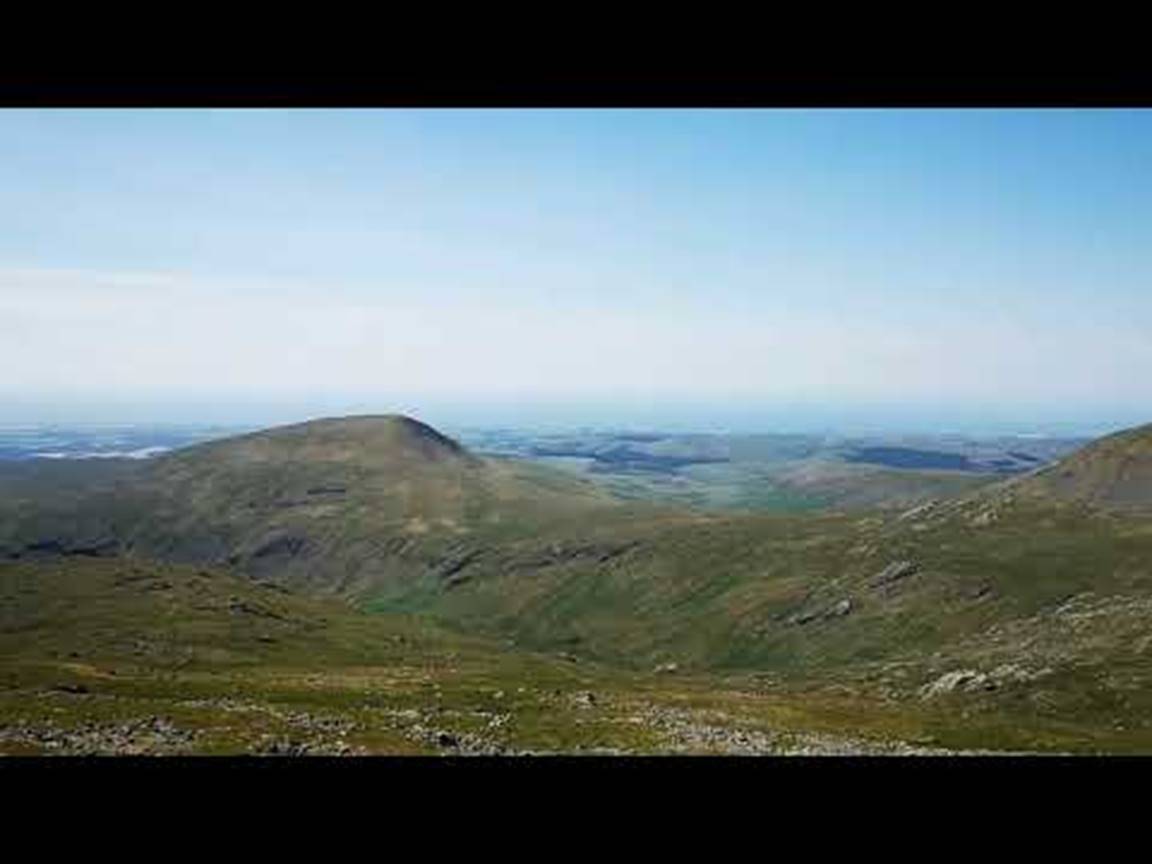
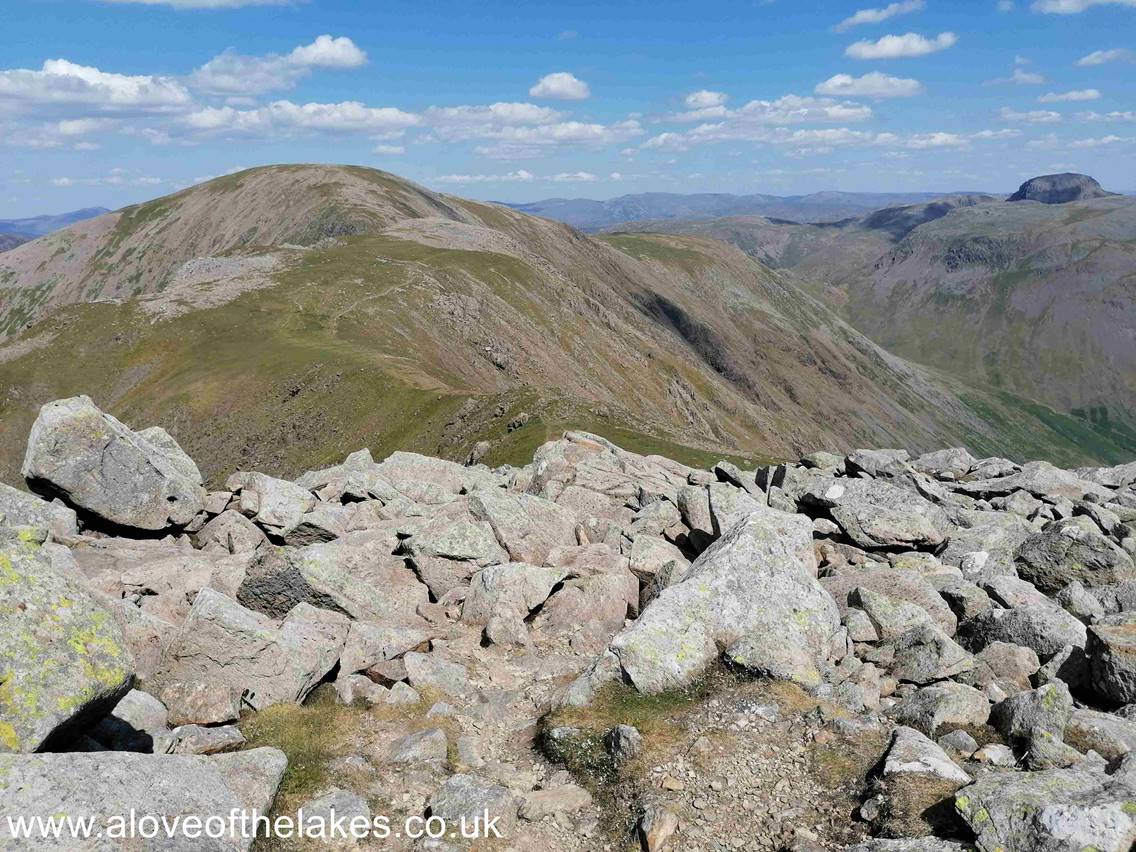
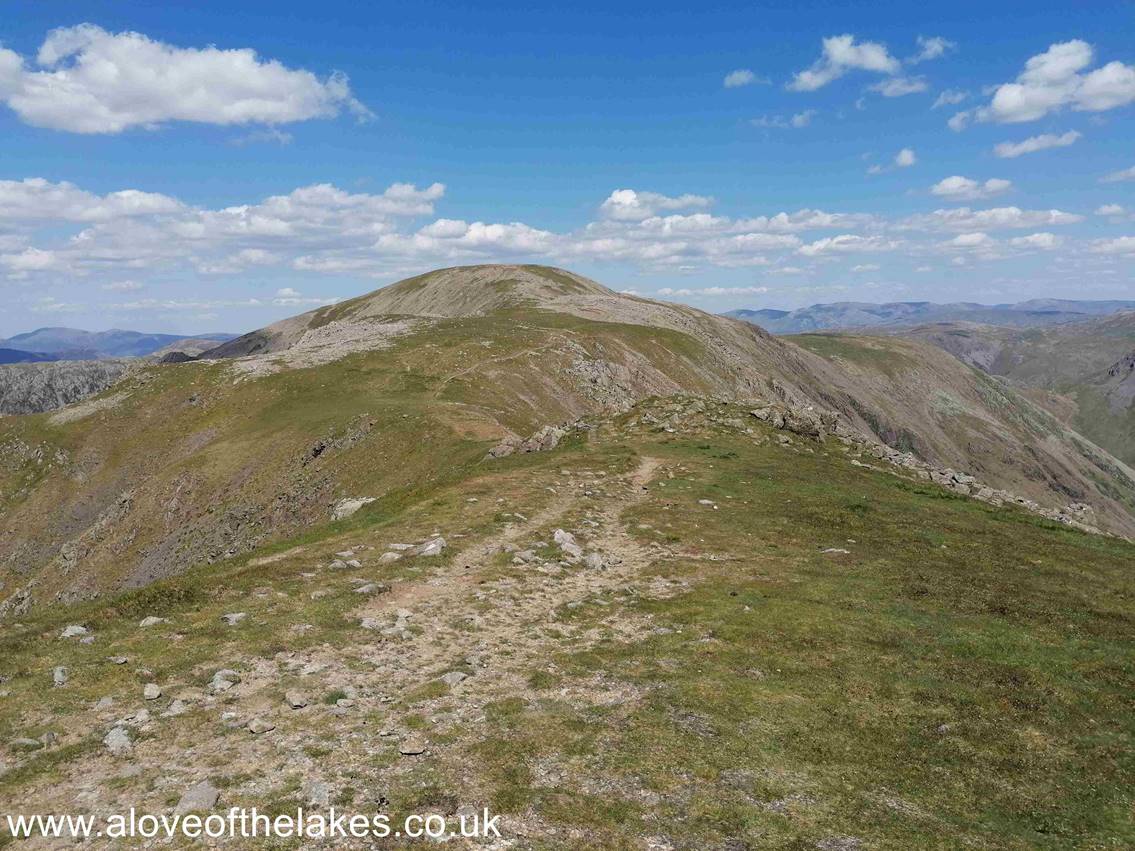
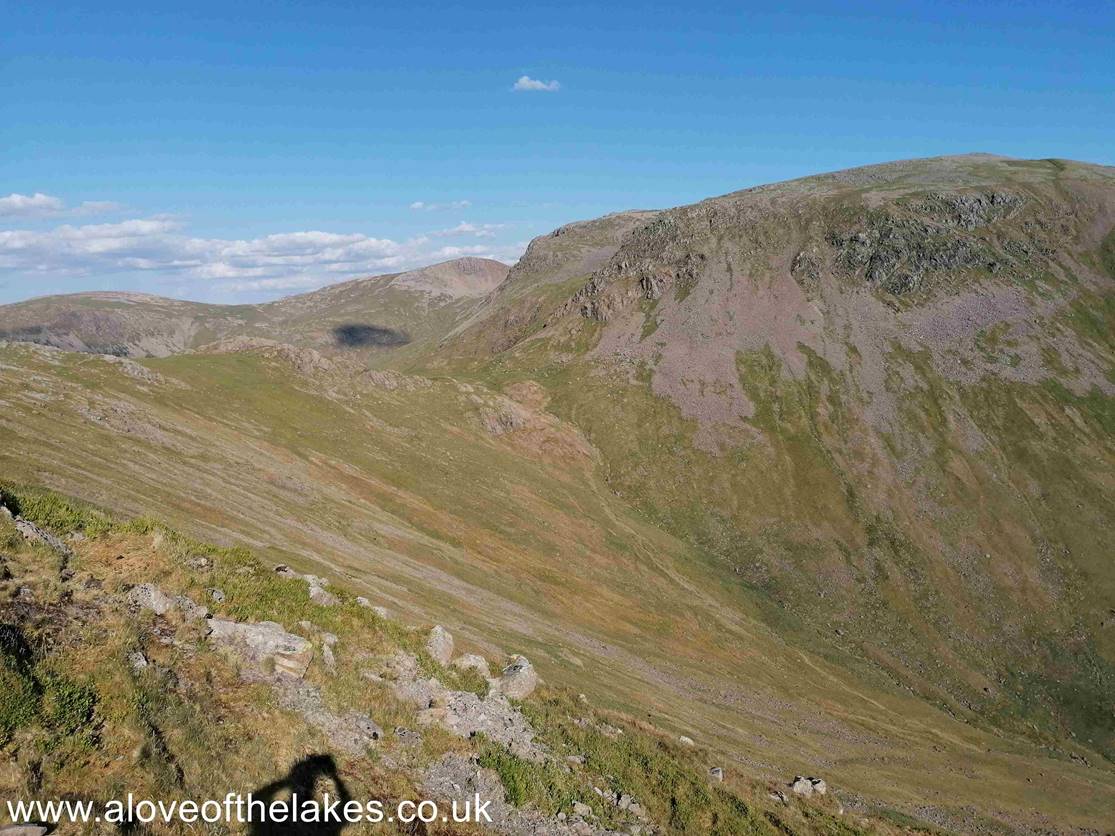
Looking
north towards our third fell of the day Scoat Fell
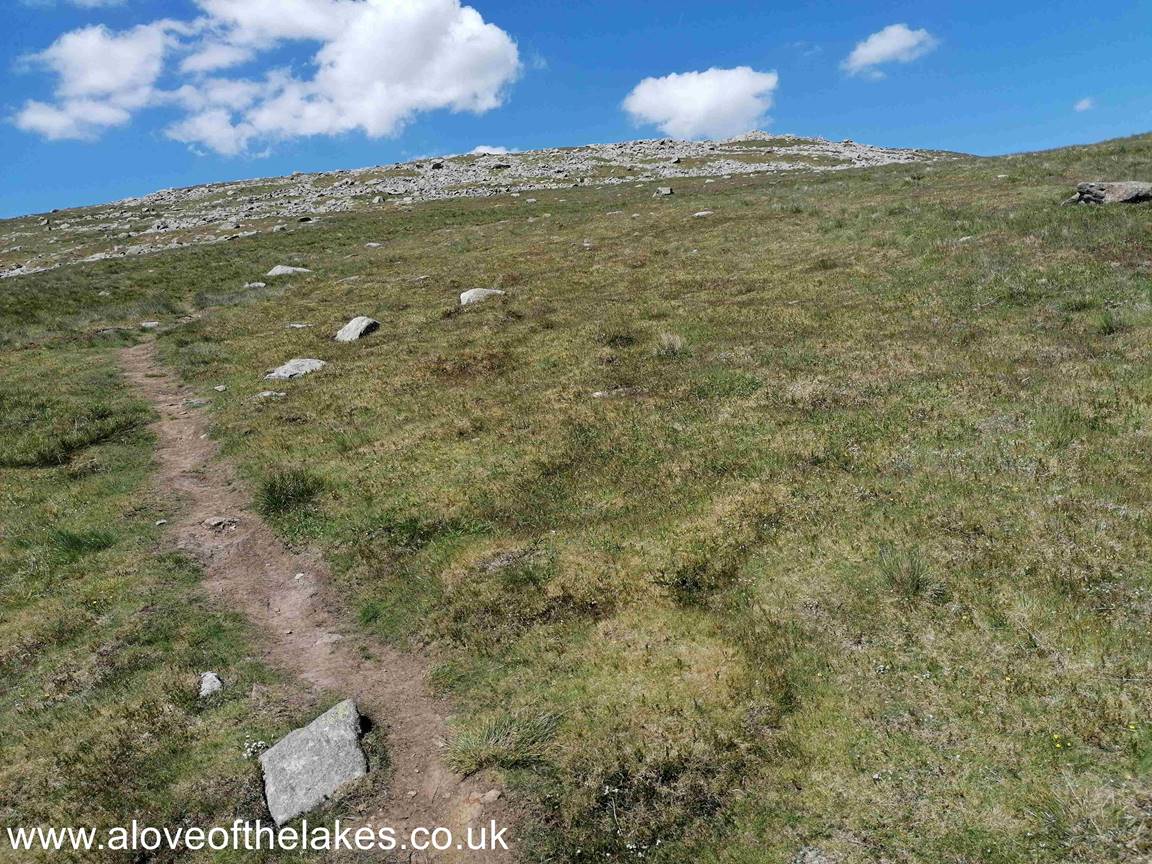
The
path is very easy to follow as it journeys towards a boundary wall on the top
of Scoat Fell
Looking
back to Red Pike from the path to Scoat Fell
The
wall that runs the length of Scoat Fell. A small pile of stones on top of the
wall represents the summit point
A
360-degree view from the summit of Scoat Fell

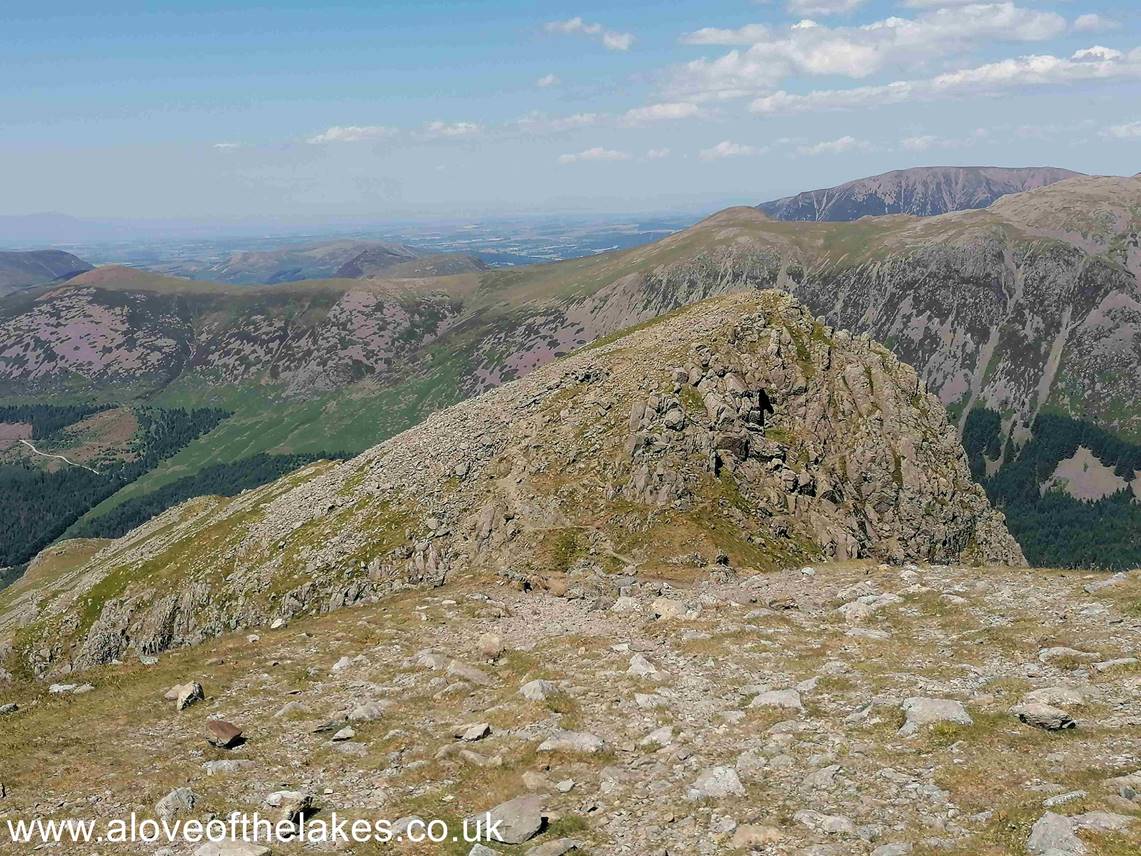
Just
the other side of the wall and our first view of Steeple. It looks precarious
but is a 10 to 15 minute stroll along a narrow
path
that does require a little caution
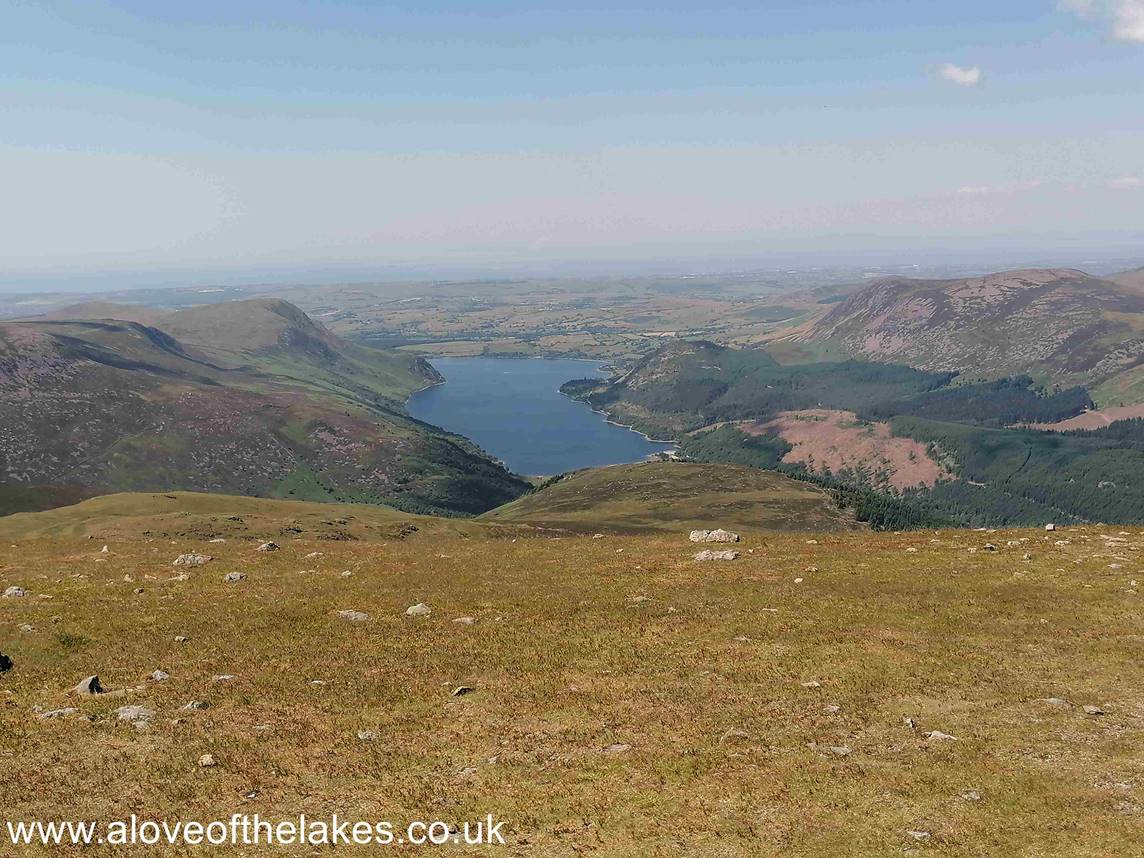
Ennerdale
Water as seen from the route to Steeple
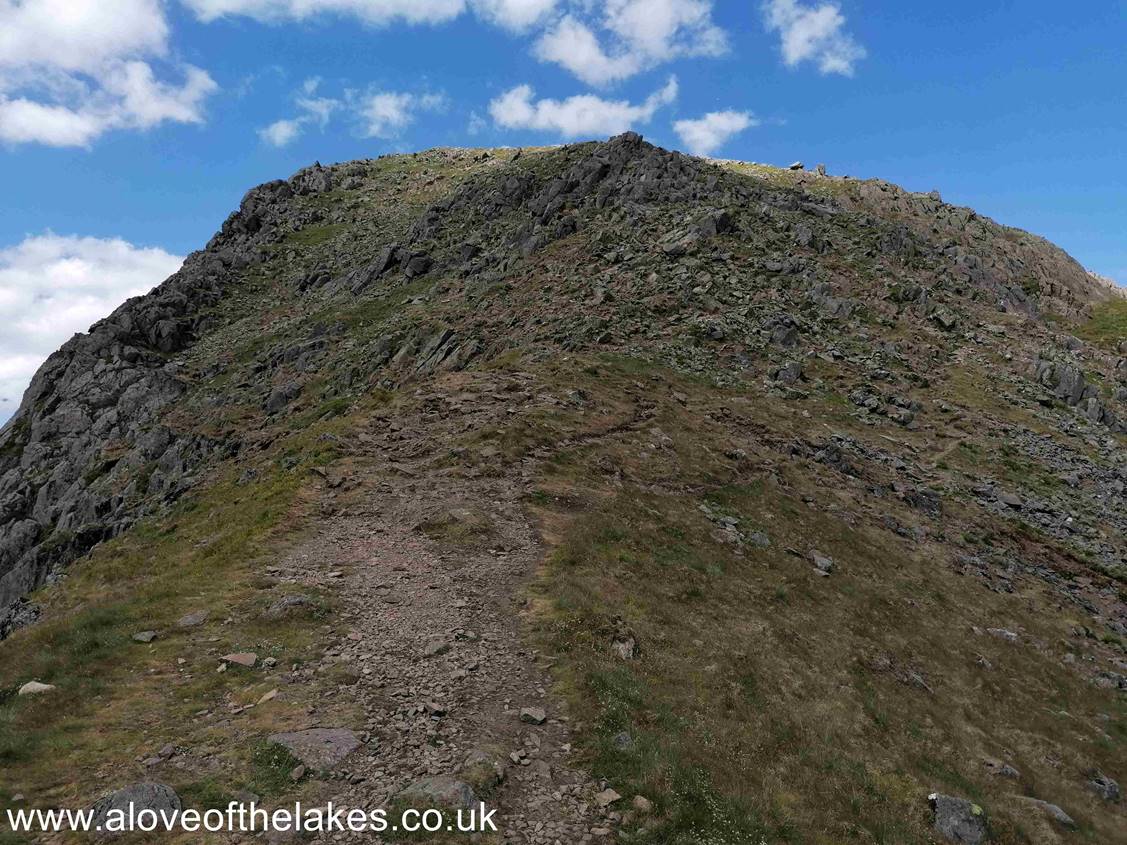
The
start of the short walk to Steeple. It is a bit scrambly but nothing too
onerous
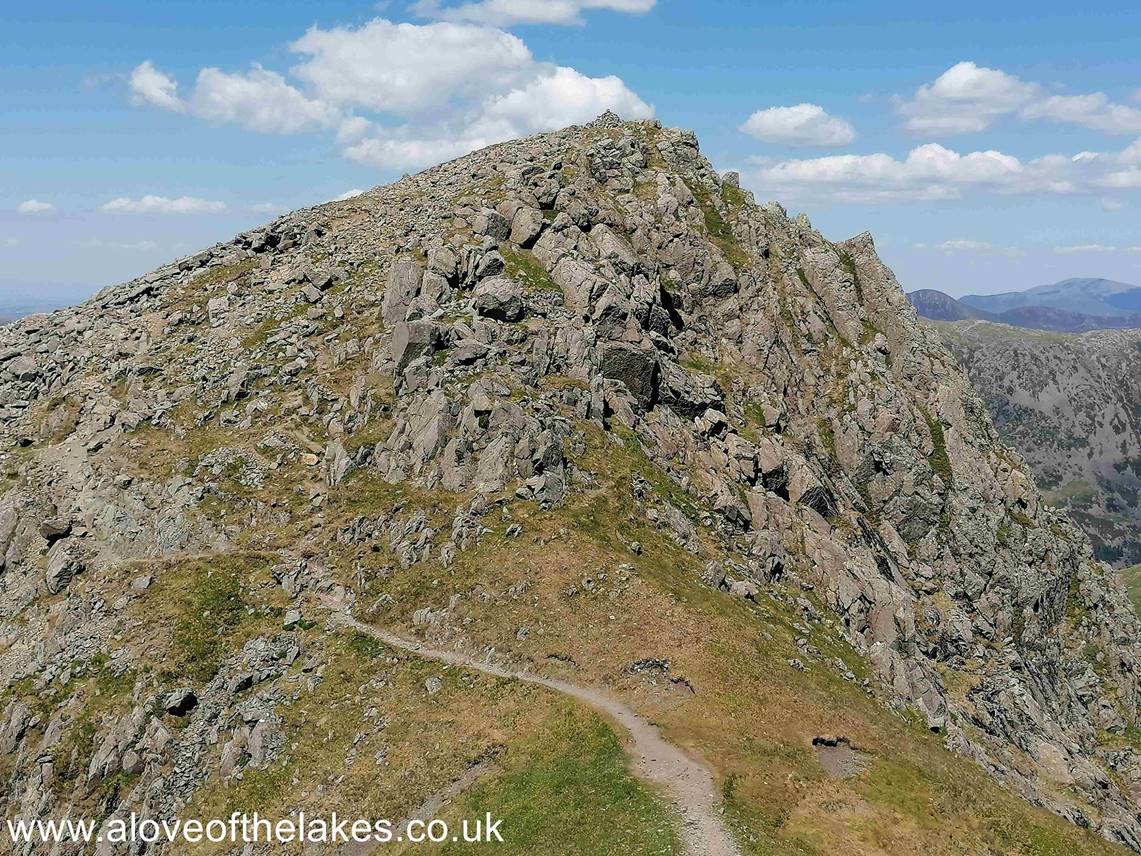
The
final part of the path up to the summit of Steeple
Sue
on the extremely small summit of Steeple
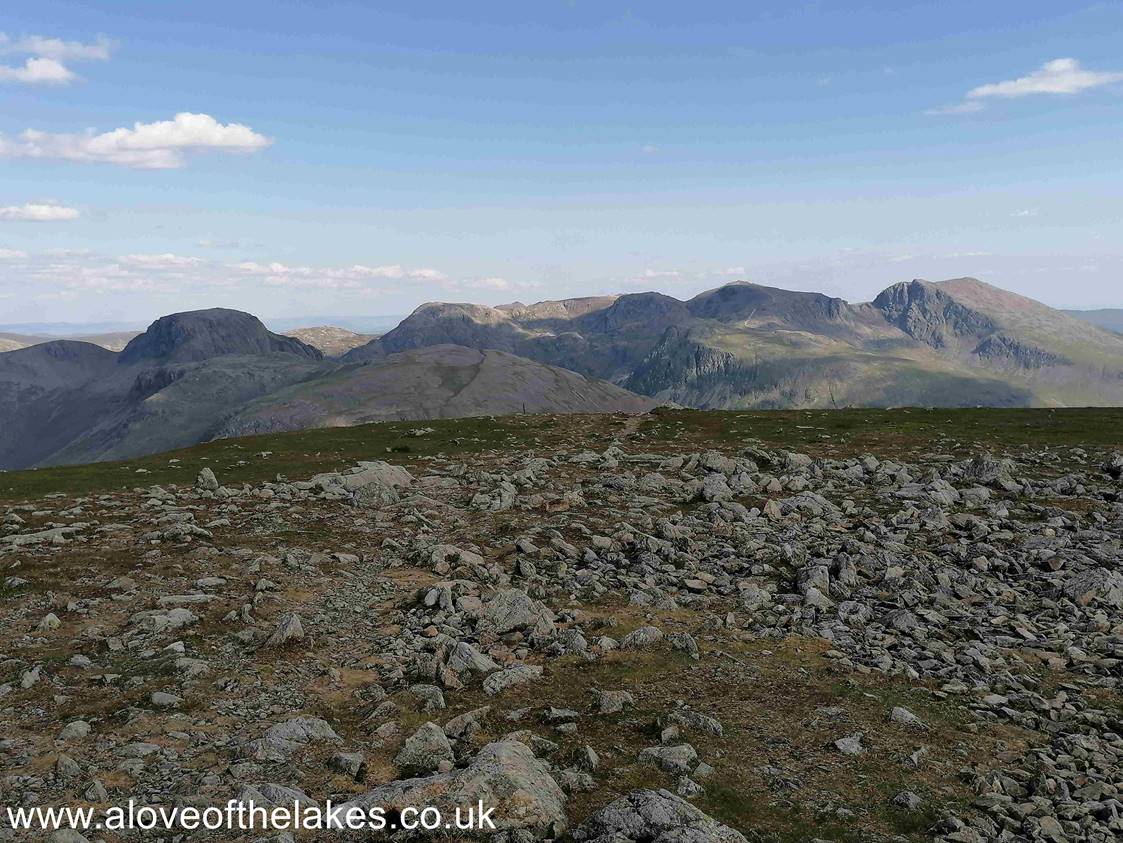
A
360 degree view from the summit of Steeple
After
returning back to Scoat Fell from Steeple summit we then head East towards the
final fell of the round for today ..
Pillar.
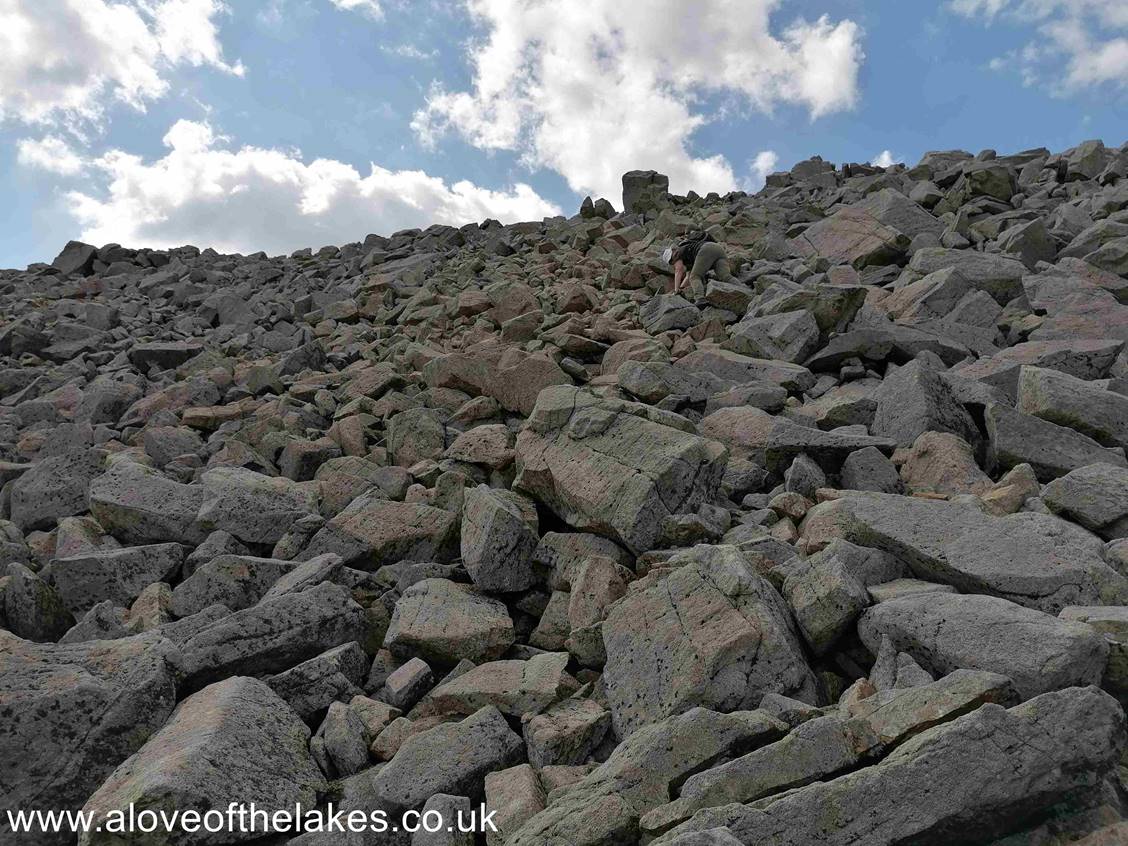
The descent to Wind Gap is a boulder run to start with
Having
crossed the first boulder field as we head to Wind Gap to begin the climb up to
Pillar
A
side profile of Steeple on the path to Wind Gap
Looking
back to Red Pike from the path to Wind Gap
More
boulders to contend with to get on the summit approach path to Pillar
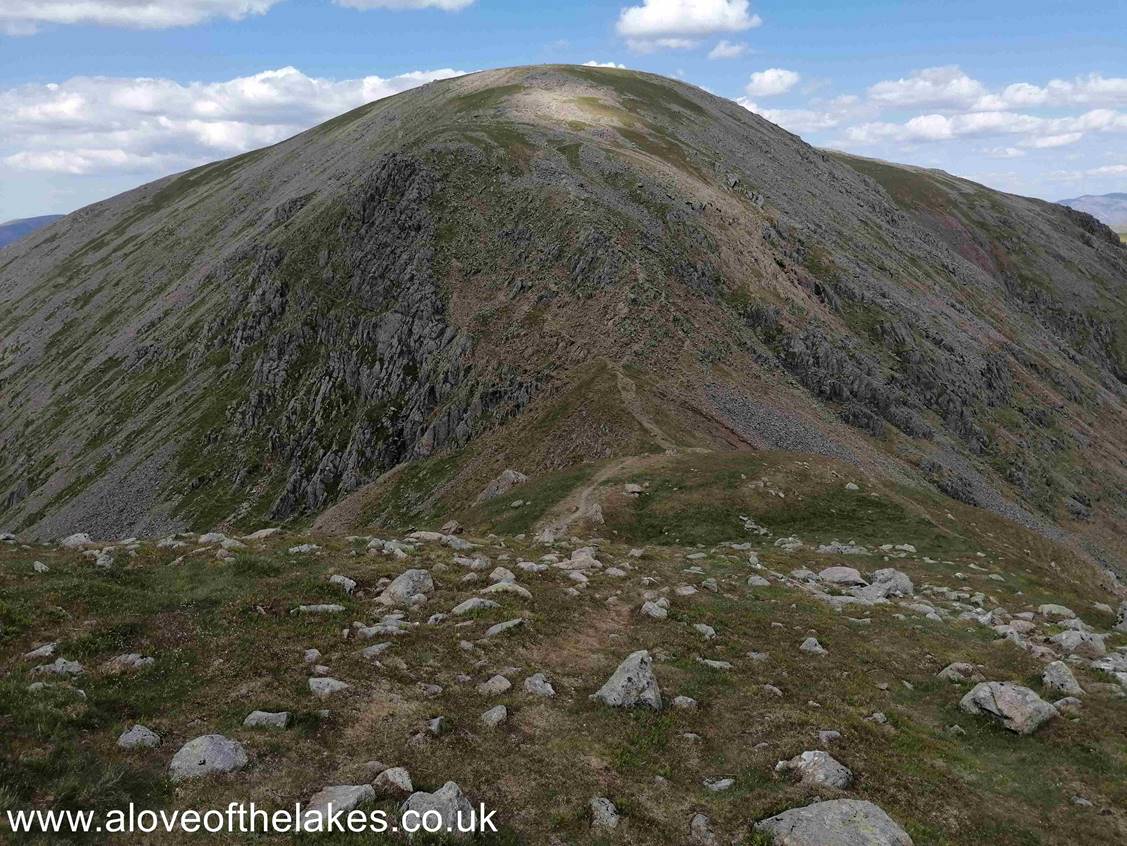
At
Wind Gap now and the path up to Pillar summit
The
summit approach requires a little more rock handling but nothing too serious
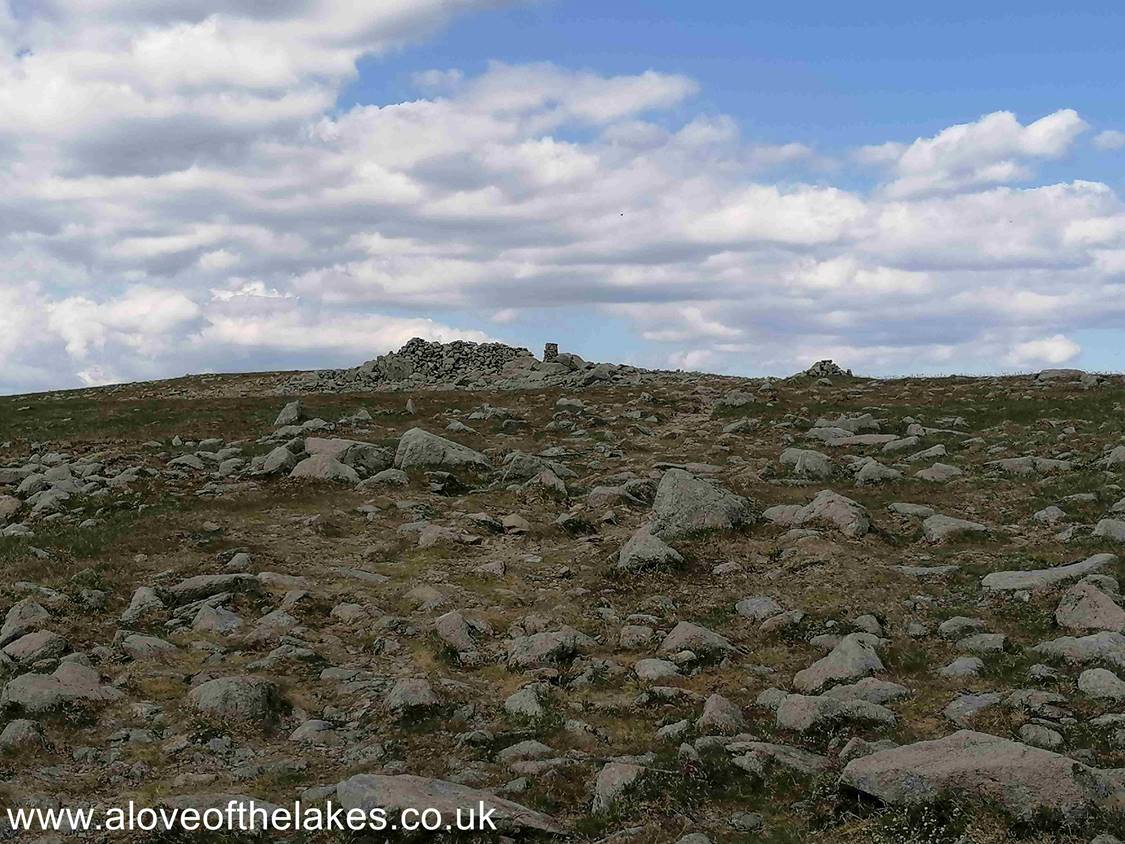
After
the final scramble, the very welcome sight of the summit Trig Point and shelter
cairn on the summit of Pillar
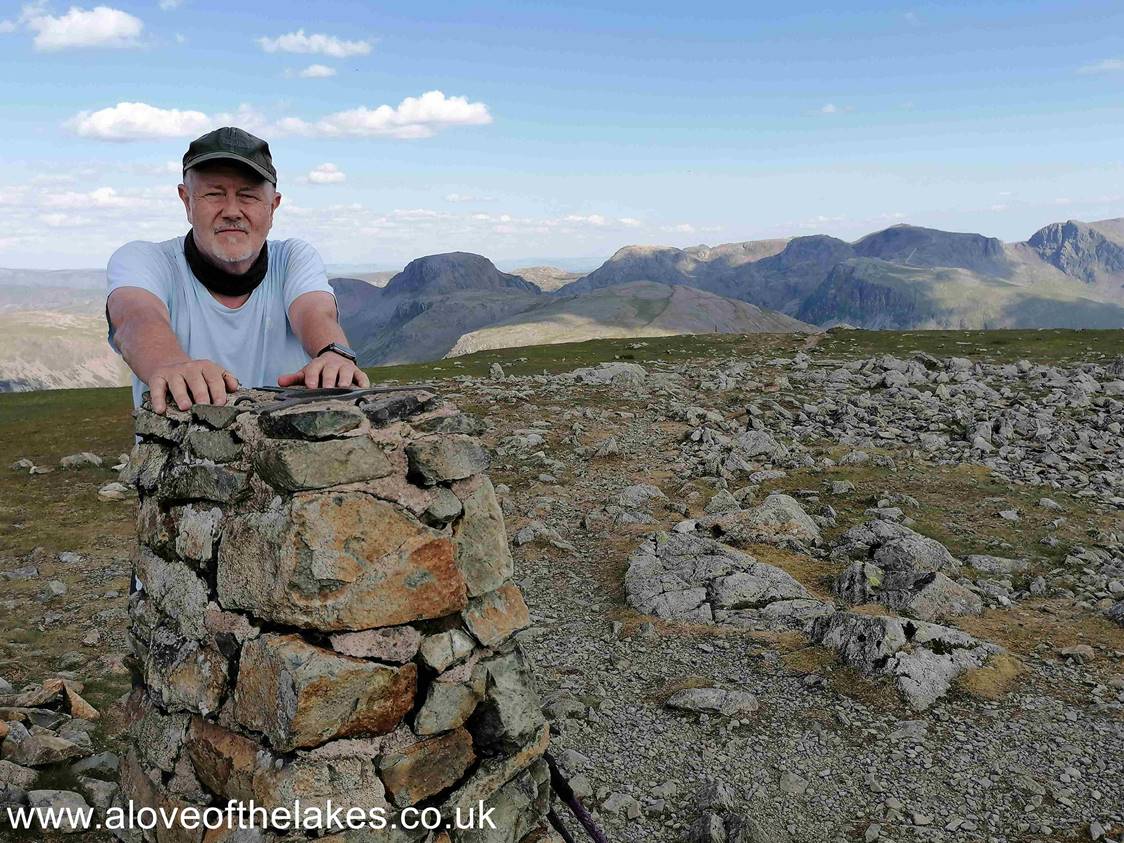
A
personal milestone for both Sue and I as we attain our 213th Wainwright summit.
Only one left to go now!!
The
route back down to Wasdale Head follows the line of the old Ennerdale fence
posts. The first of which can just be
seen
in the centre of the shot
The
path is easily followed as it makes its way unerringly towards Looking Stead
and the Black sail Pass
Looking
Stead and the Black Sail Pass path back down to Wasdale Head
Almost
on the valley floor now and that long-awaited ice-cold drink at the Wasdale
Head Inn!!
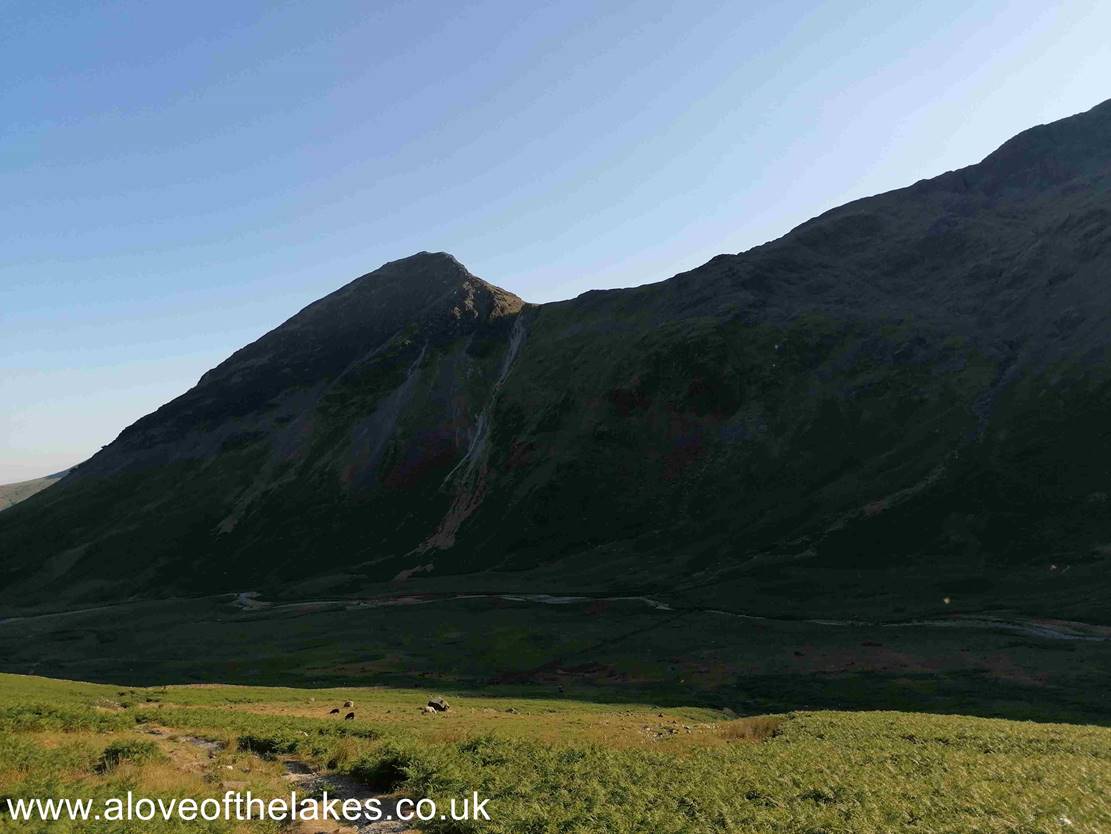
The
imposing Stirrup Crag on Yewbarrow
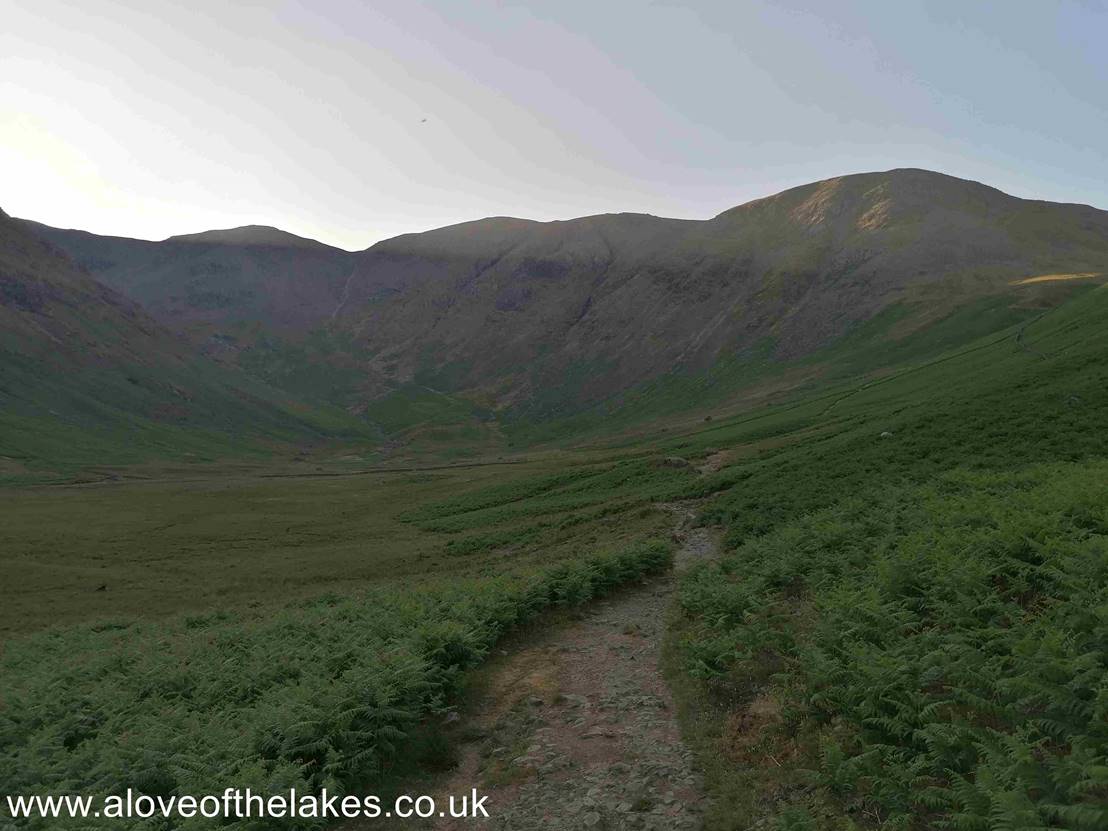
A
lingering last look towards the head of the Mosedale valley in early evening at
the end of a rewarding day out on the fells
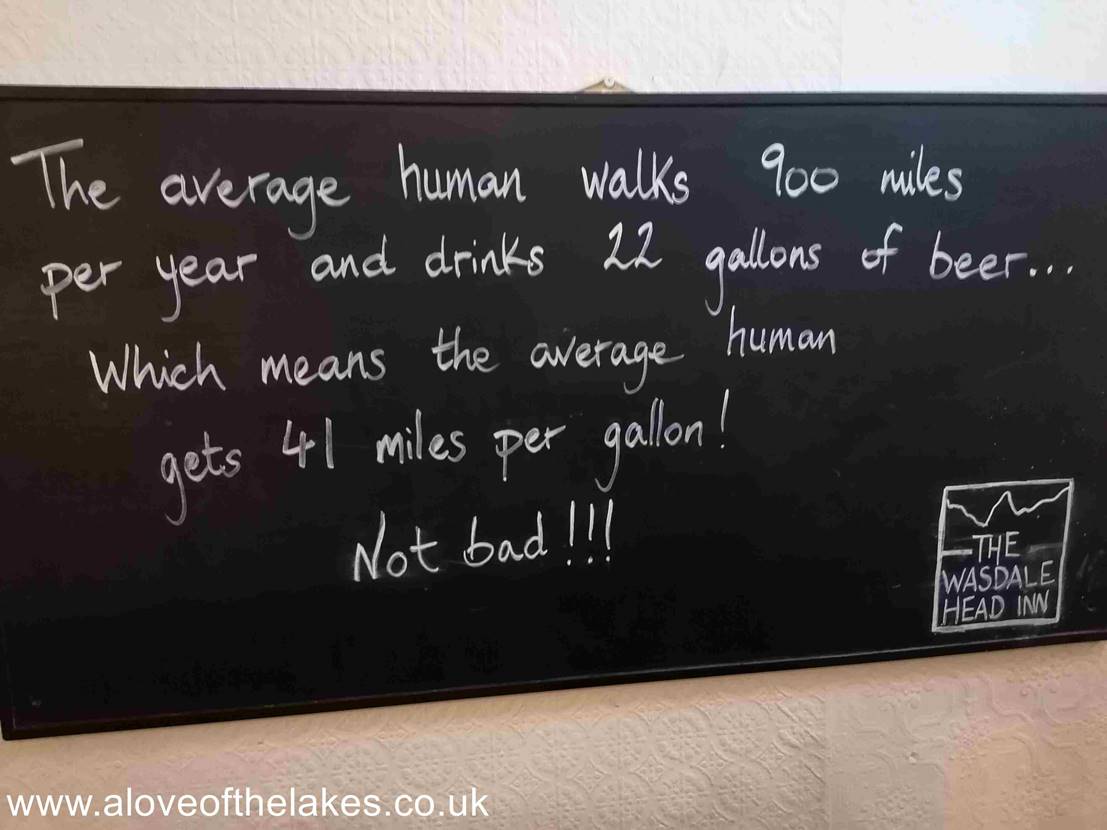
An
amazing statistic!!!
Copyright ©
aloveofthelakes.co.uk 2011 – 2023